1960's photo of Friars Walk terminus station TBA
old map of location TBA
modern map of location TBA
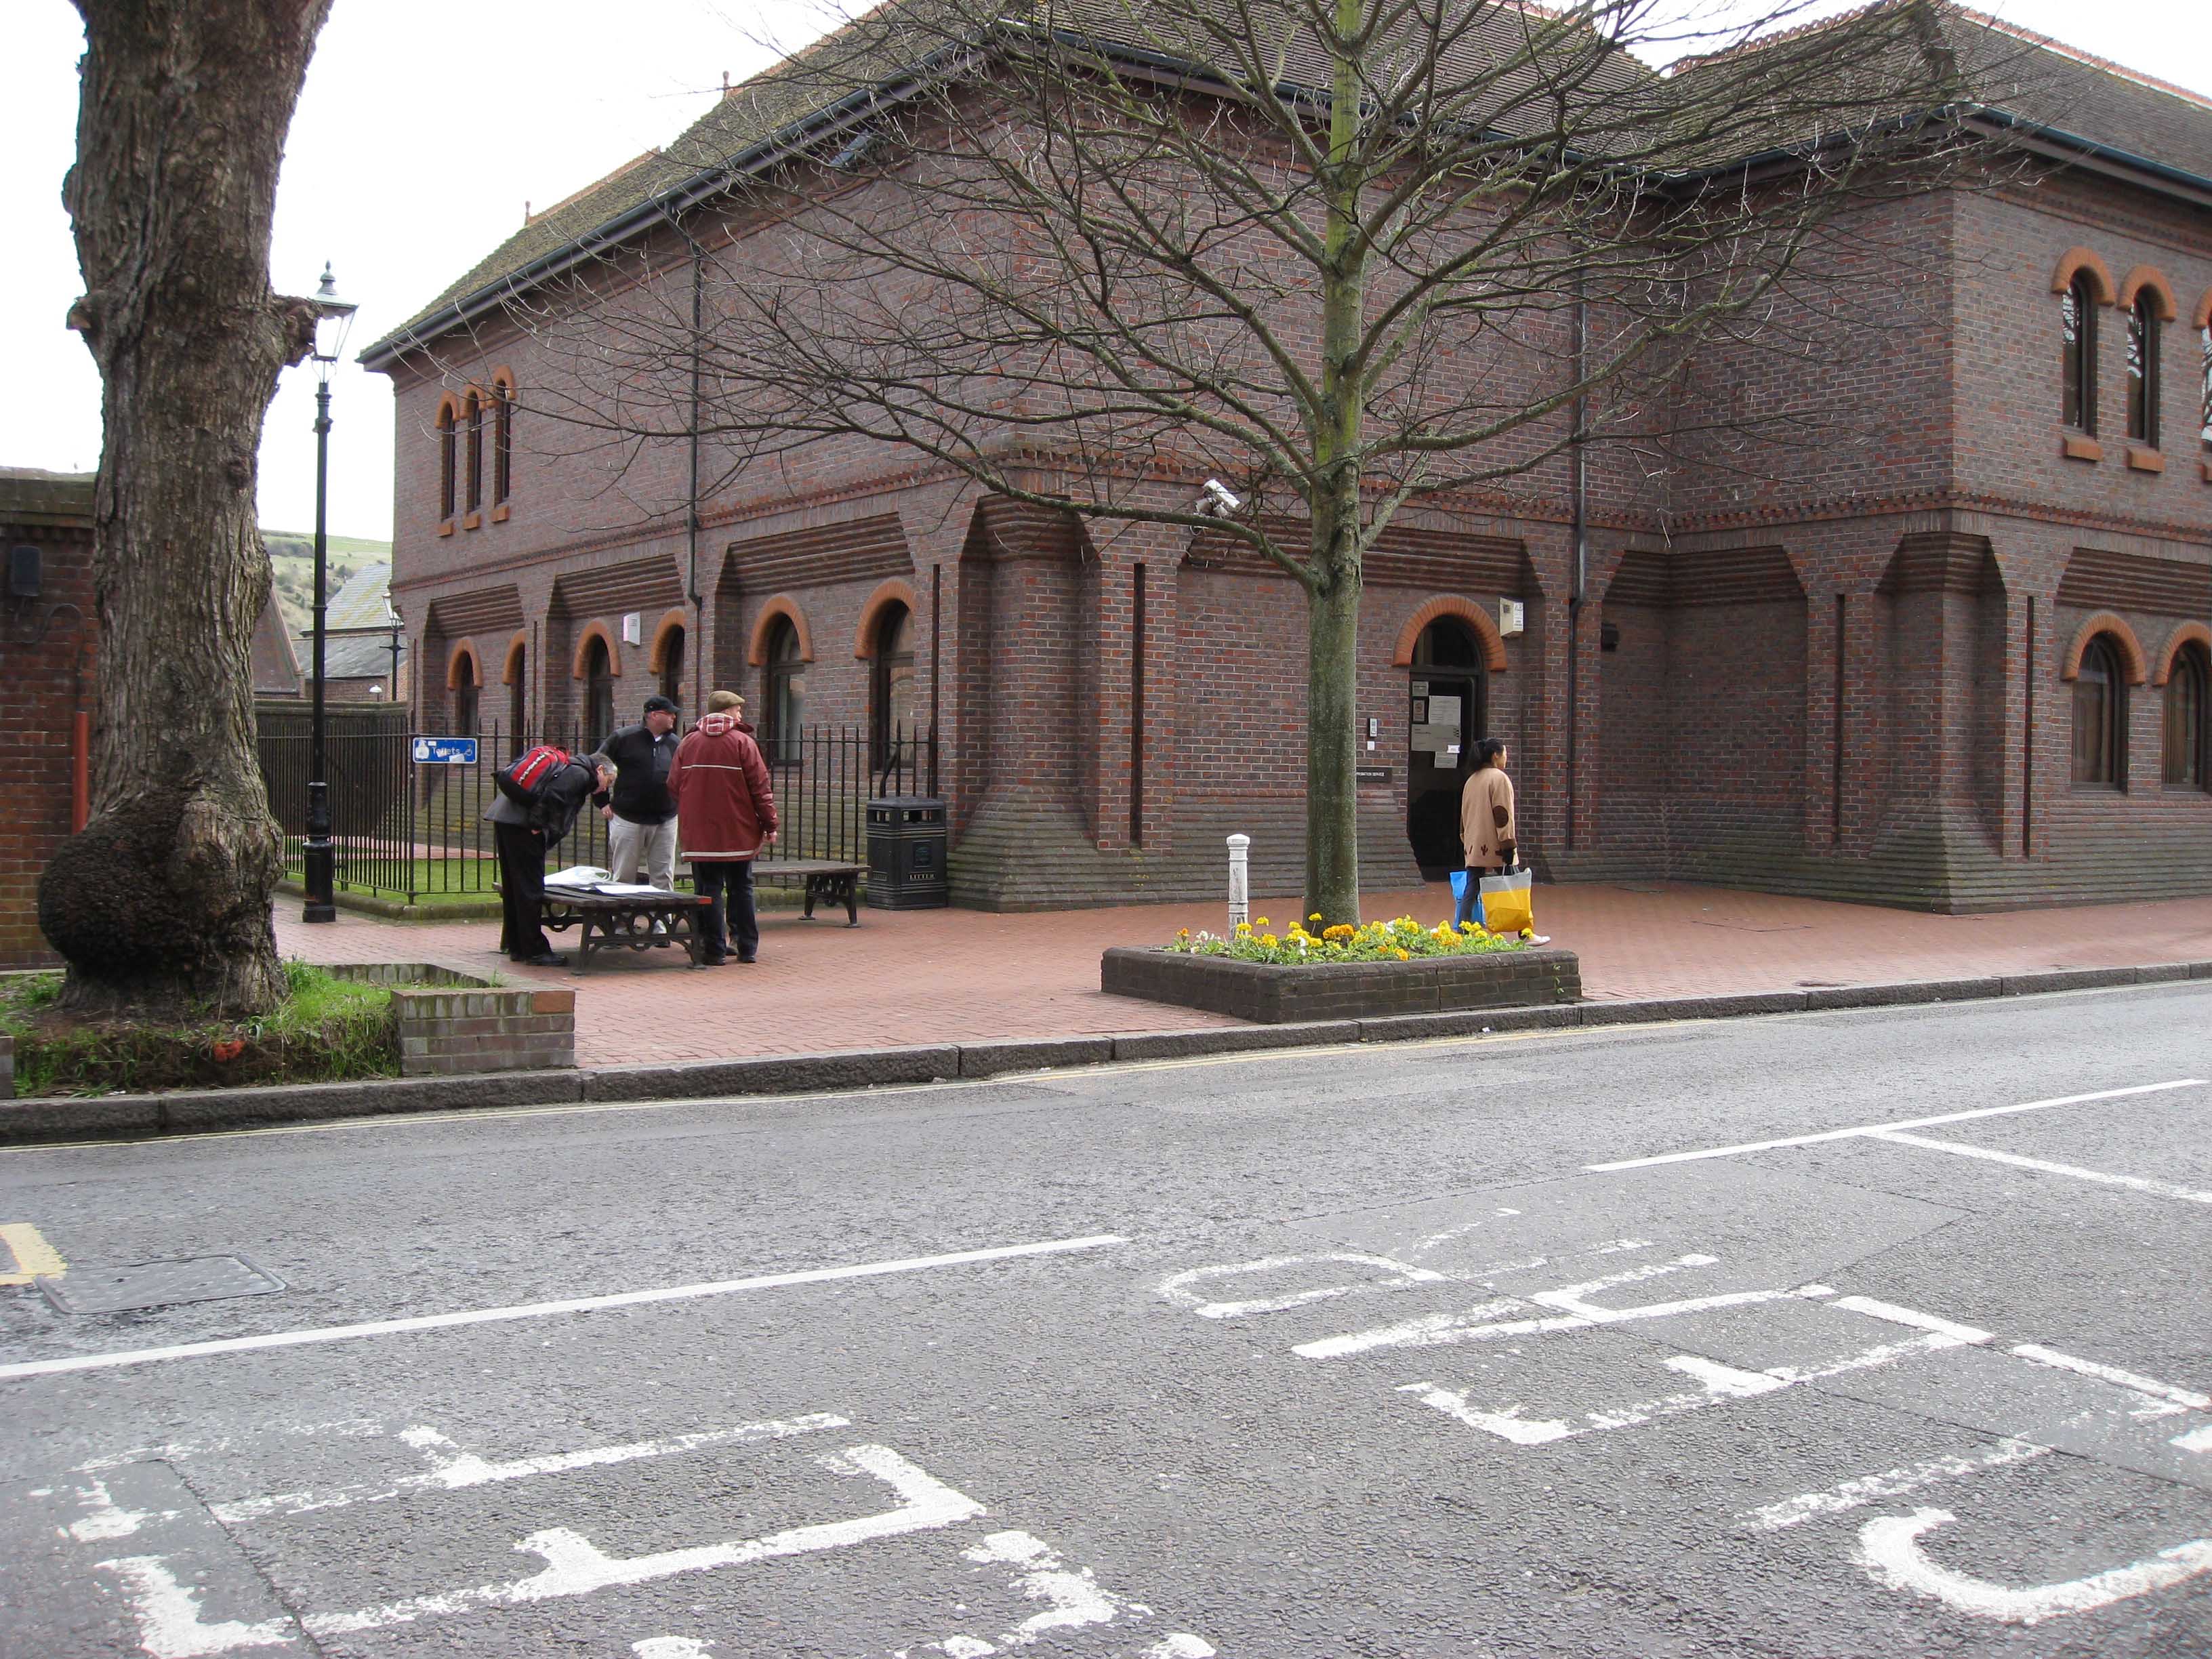
ABOVE: This photo and maps show the point where the original station at Friars Walk would have stood. The building behind the trees is the Magistrates Court and is on the exact site of the original terminus station. The photo is taken looking directly along the path of the Lewes Viaduct as it approaches the point where it crossed Lewes High Street.
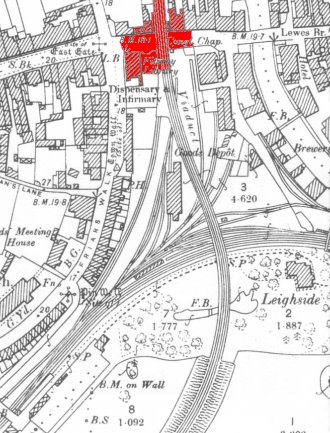
1898 map of Lewes showing the location shown in both the old & new photos, where the Viaduct crossed Lewes High Street.
new map showing location tba
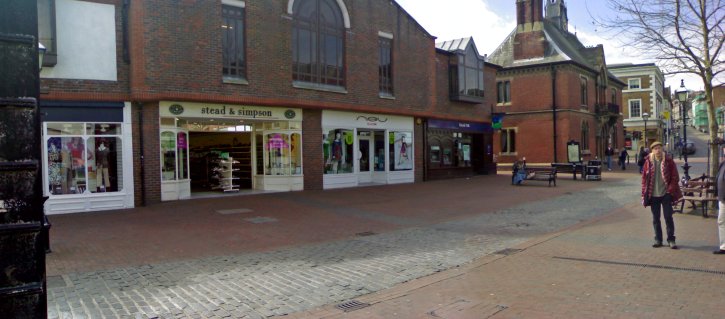
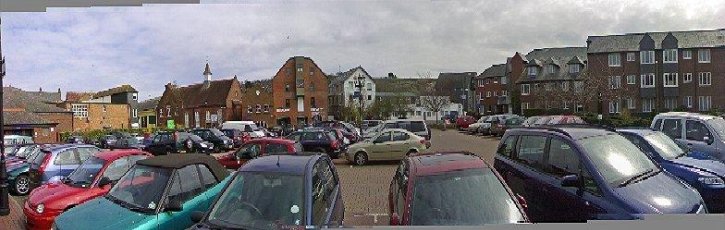
The photo and map locations above show where the viaduct section of the line to Uckfield would have crossed Lewes High Street. There are slightly darker bands of brickwork across the pedestrianised area which correspond roughly with the sides of the viaduct.The older building just to the right of the centre of this photo is the Fitzroy Library and contrasts starkly with the new shops built on the path of the viaduct.
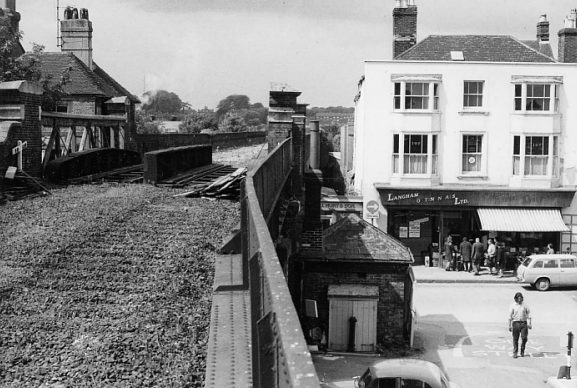
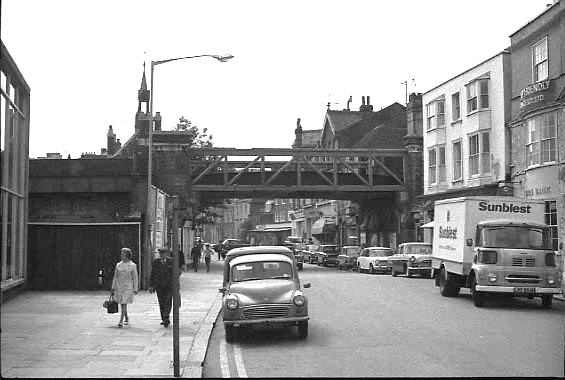
The older photos show the viaduct in situ, possibly towards the end of the 1960's. The first is looking in the opposite direction; so looking from the new buildings to the left of Agent Skyframe or above "Stead & Simpson" in the modern photo. The second old photo is shown looking in the same direction as the modern photo, but from the opposite side of the road so that Agent Skyframe would be just to the right of the centre of the photo.
(photos owned by ghost-trains (top) and Dave Beard (bottom). Old photo appears on www.wealdenline.co.uk and is used for illustrative purposes only).
**********
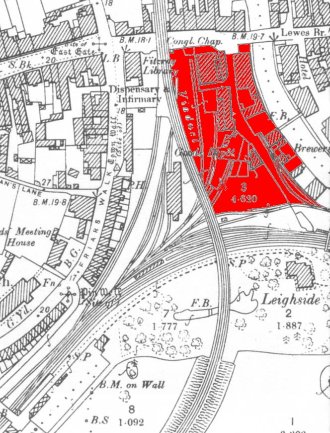
1898 map of Lewes showing the area of the Goods Yard. The area shown in the photo is the red part of the map.
new map showing present day location tba
The photo and map locations above show the area of the original Goods Yard and the area of the First Terminus Station at Lewes. This area is adjacent to Railway Lane, which runs left to right on the photo, just in front of the tall buildings, which back onto the river. The rear of the new shops seen in the previous photo can just about be seen on the extreme left hand side of the photo. The new flats on the right hand side of the photo are roughly adjacent to Winterbourne Stream. This area is investigated later on this page.
**********
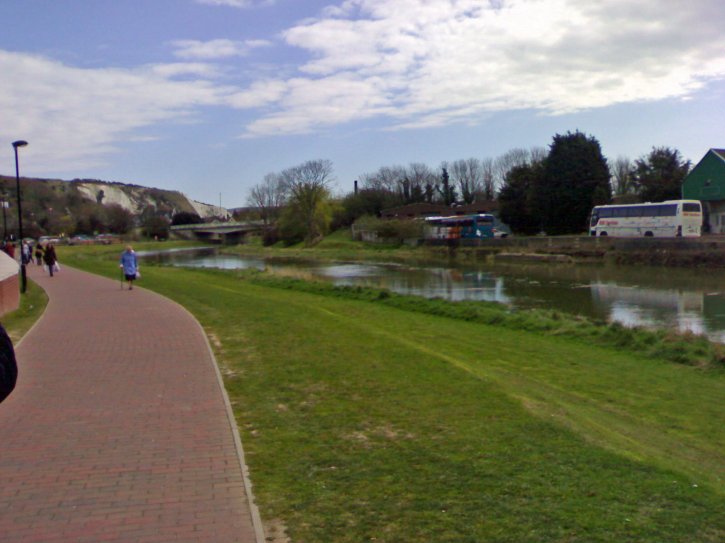
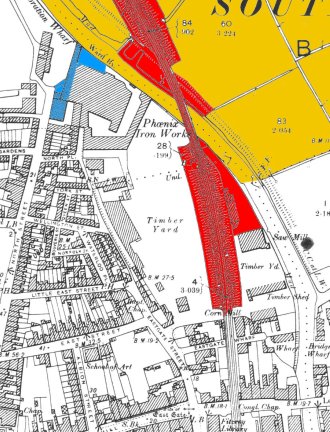
1898 map showing the railway crossing the river Ouse. The red part of the map is the area concentrated on in the modern photo, the yellow section shows the area seen in the 2nd old photo and the blue section shows the only part of the Phoenix Foundry that survives to the present day.
new map of same area here. tba
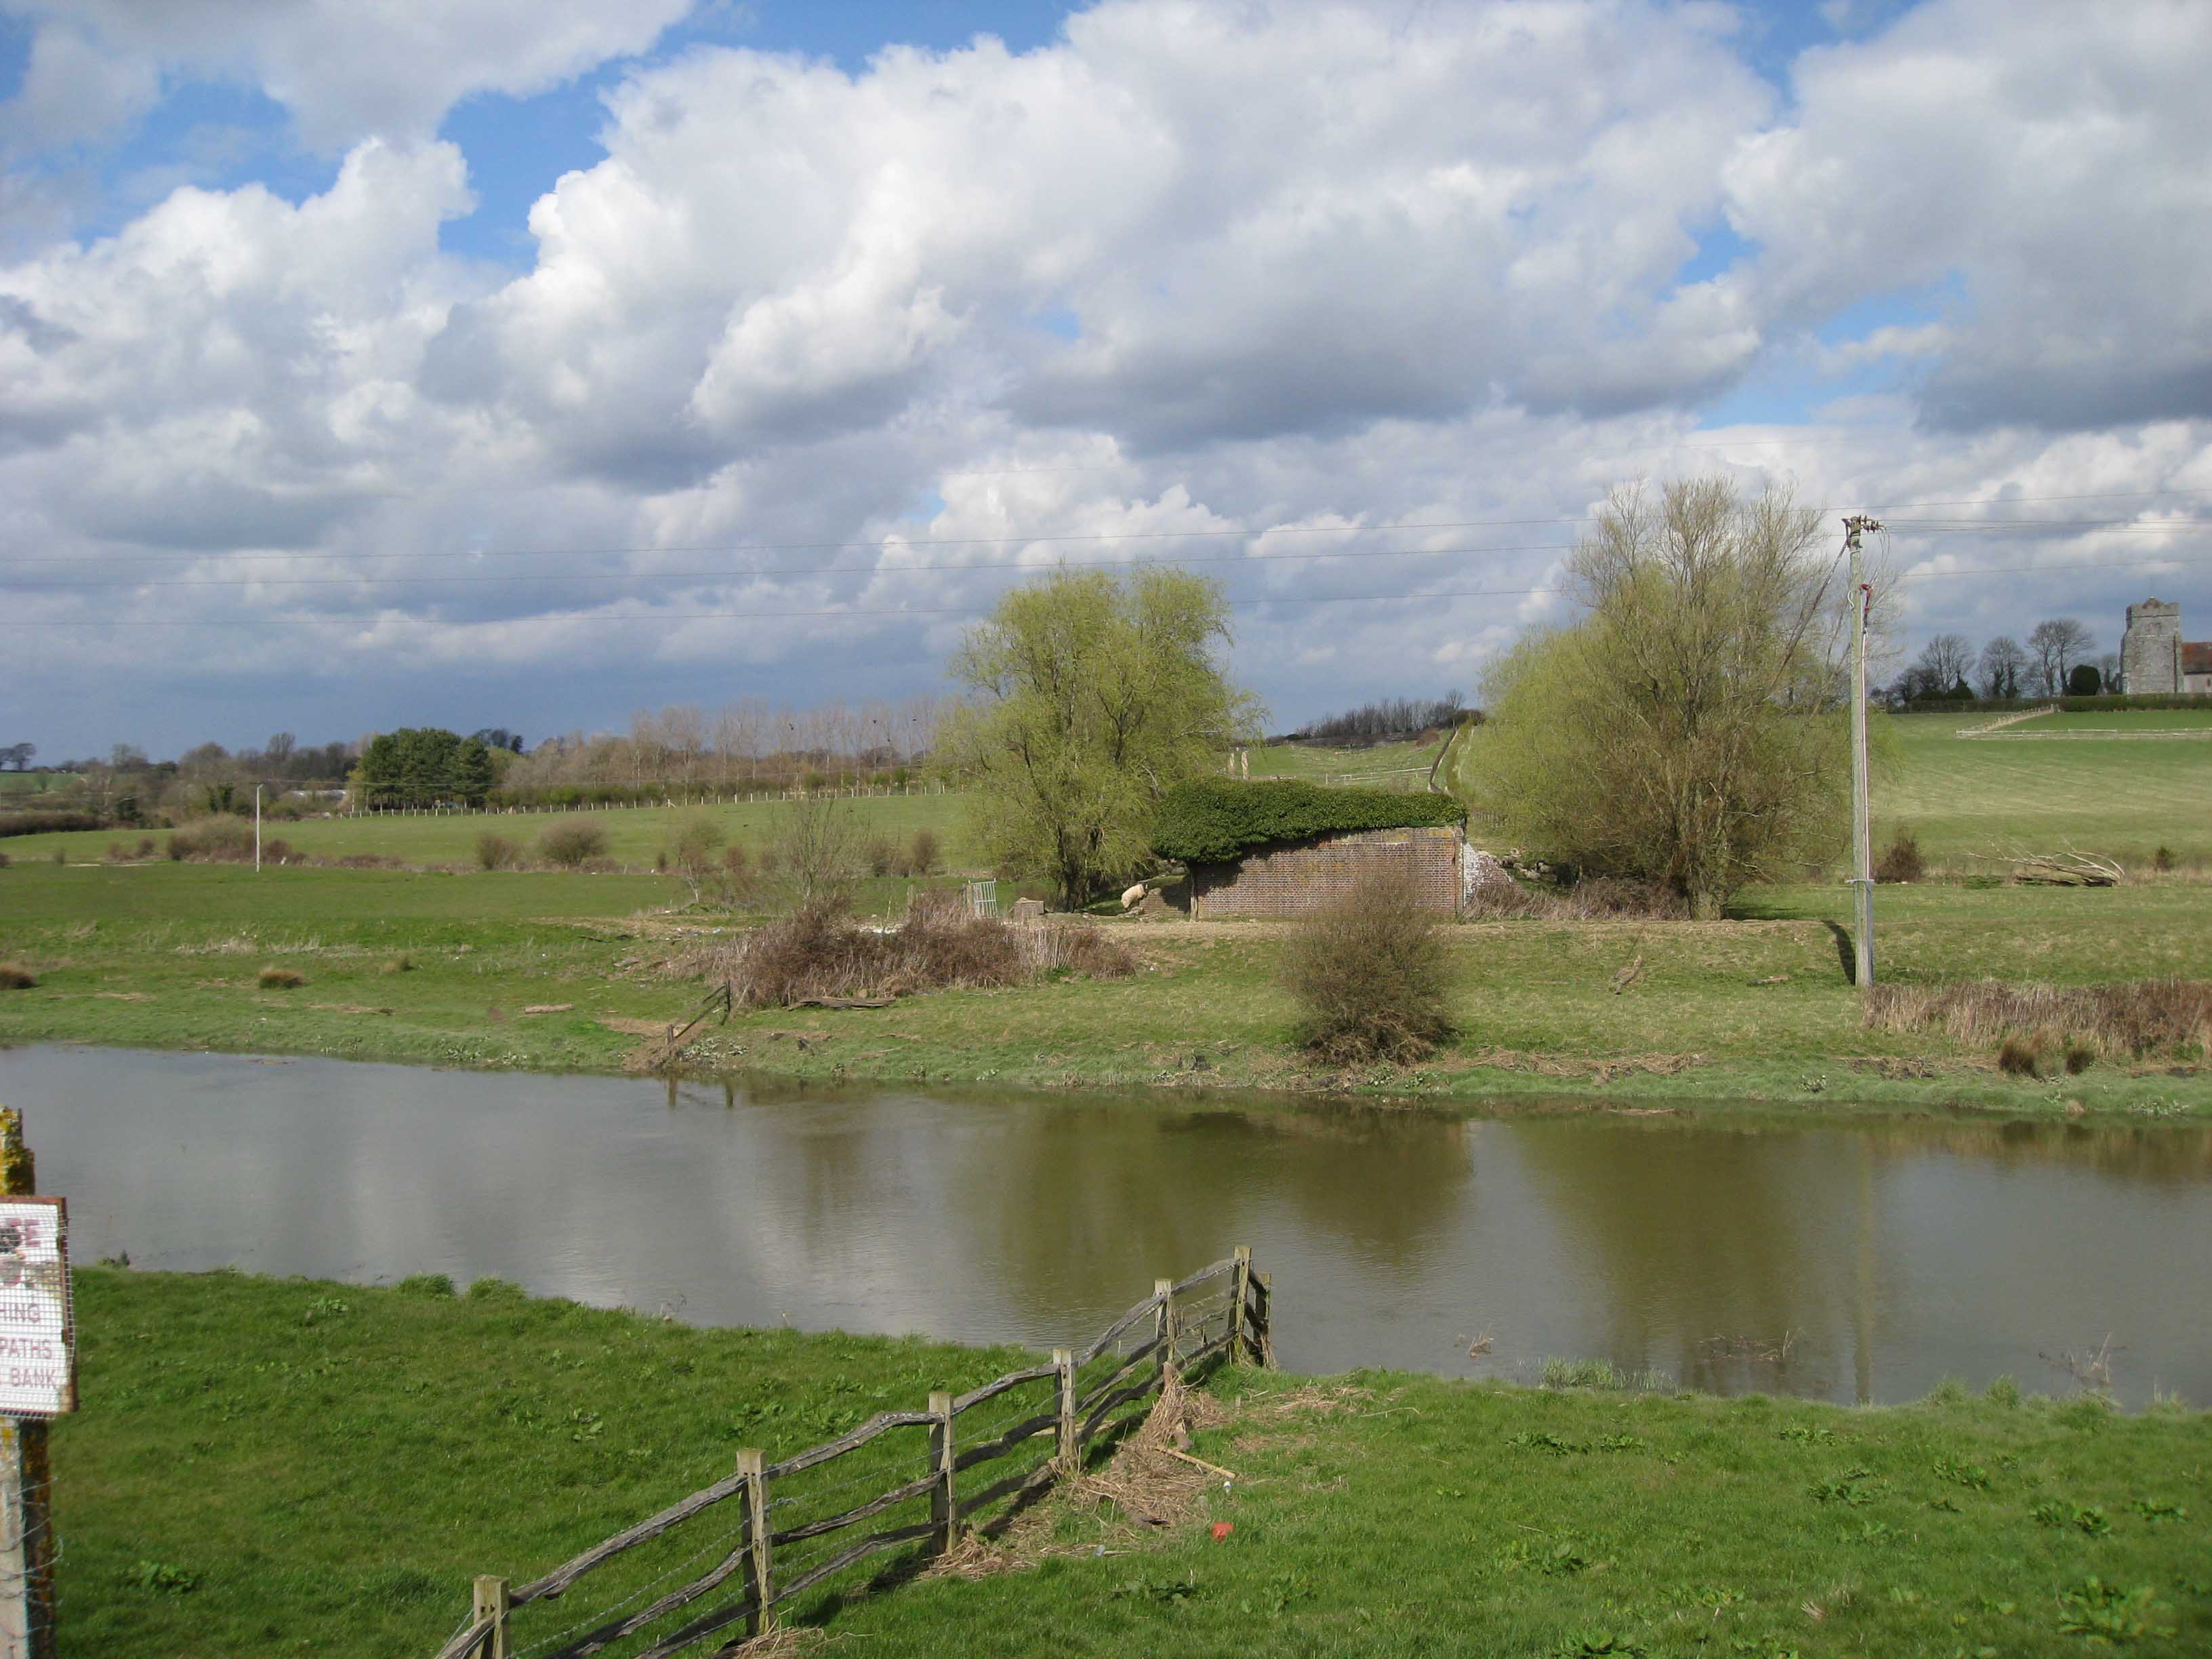
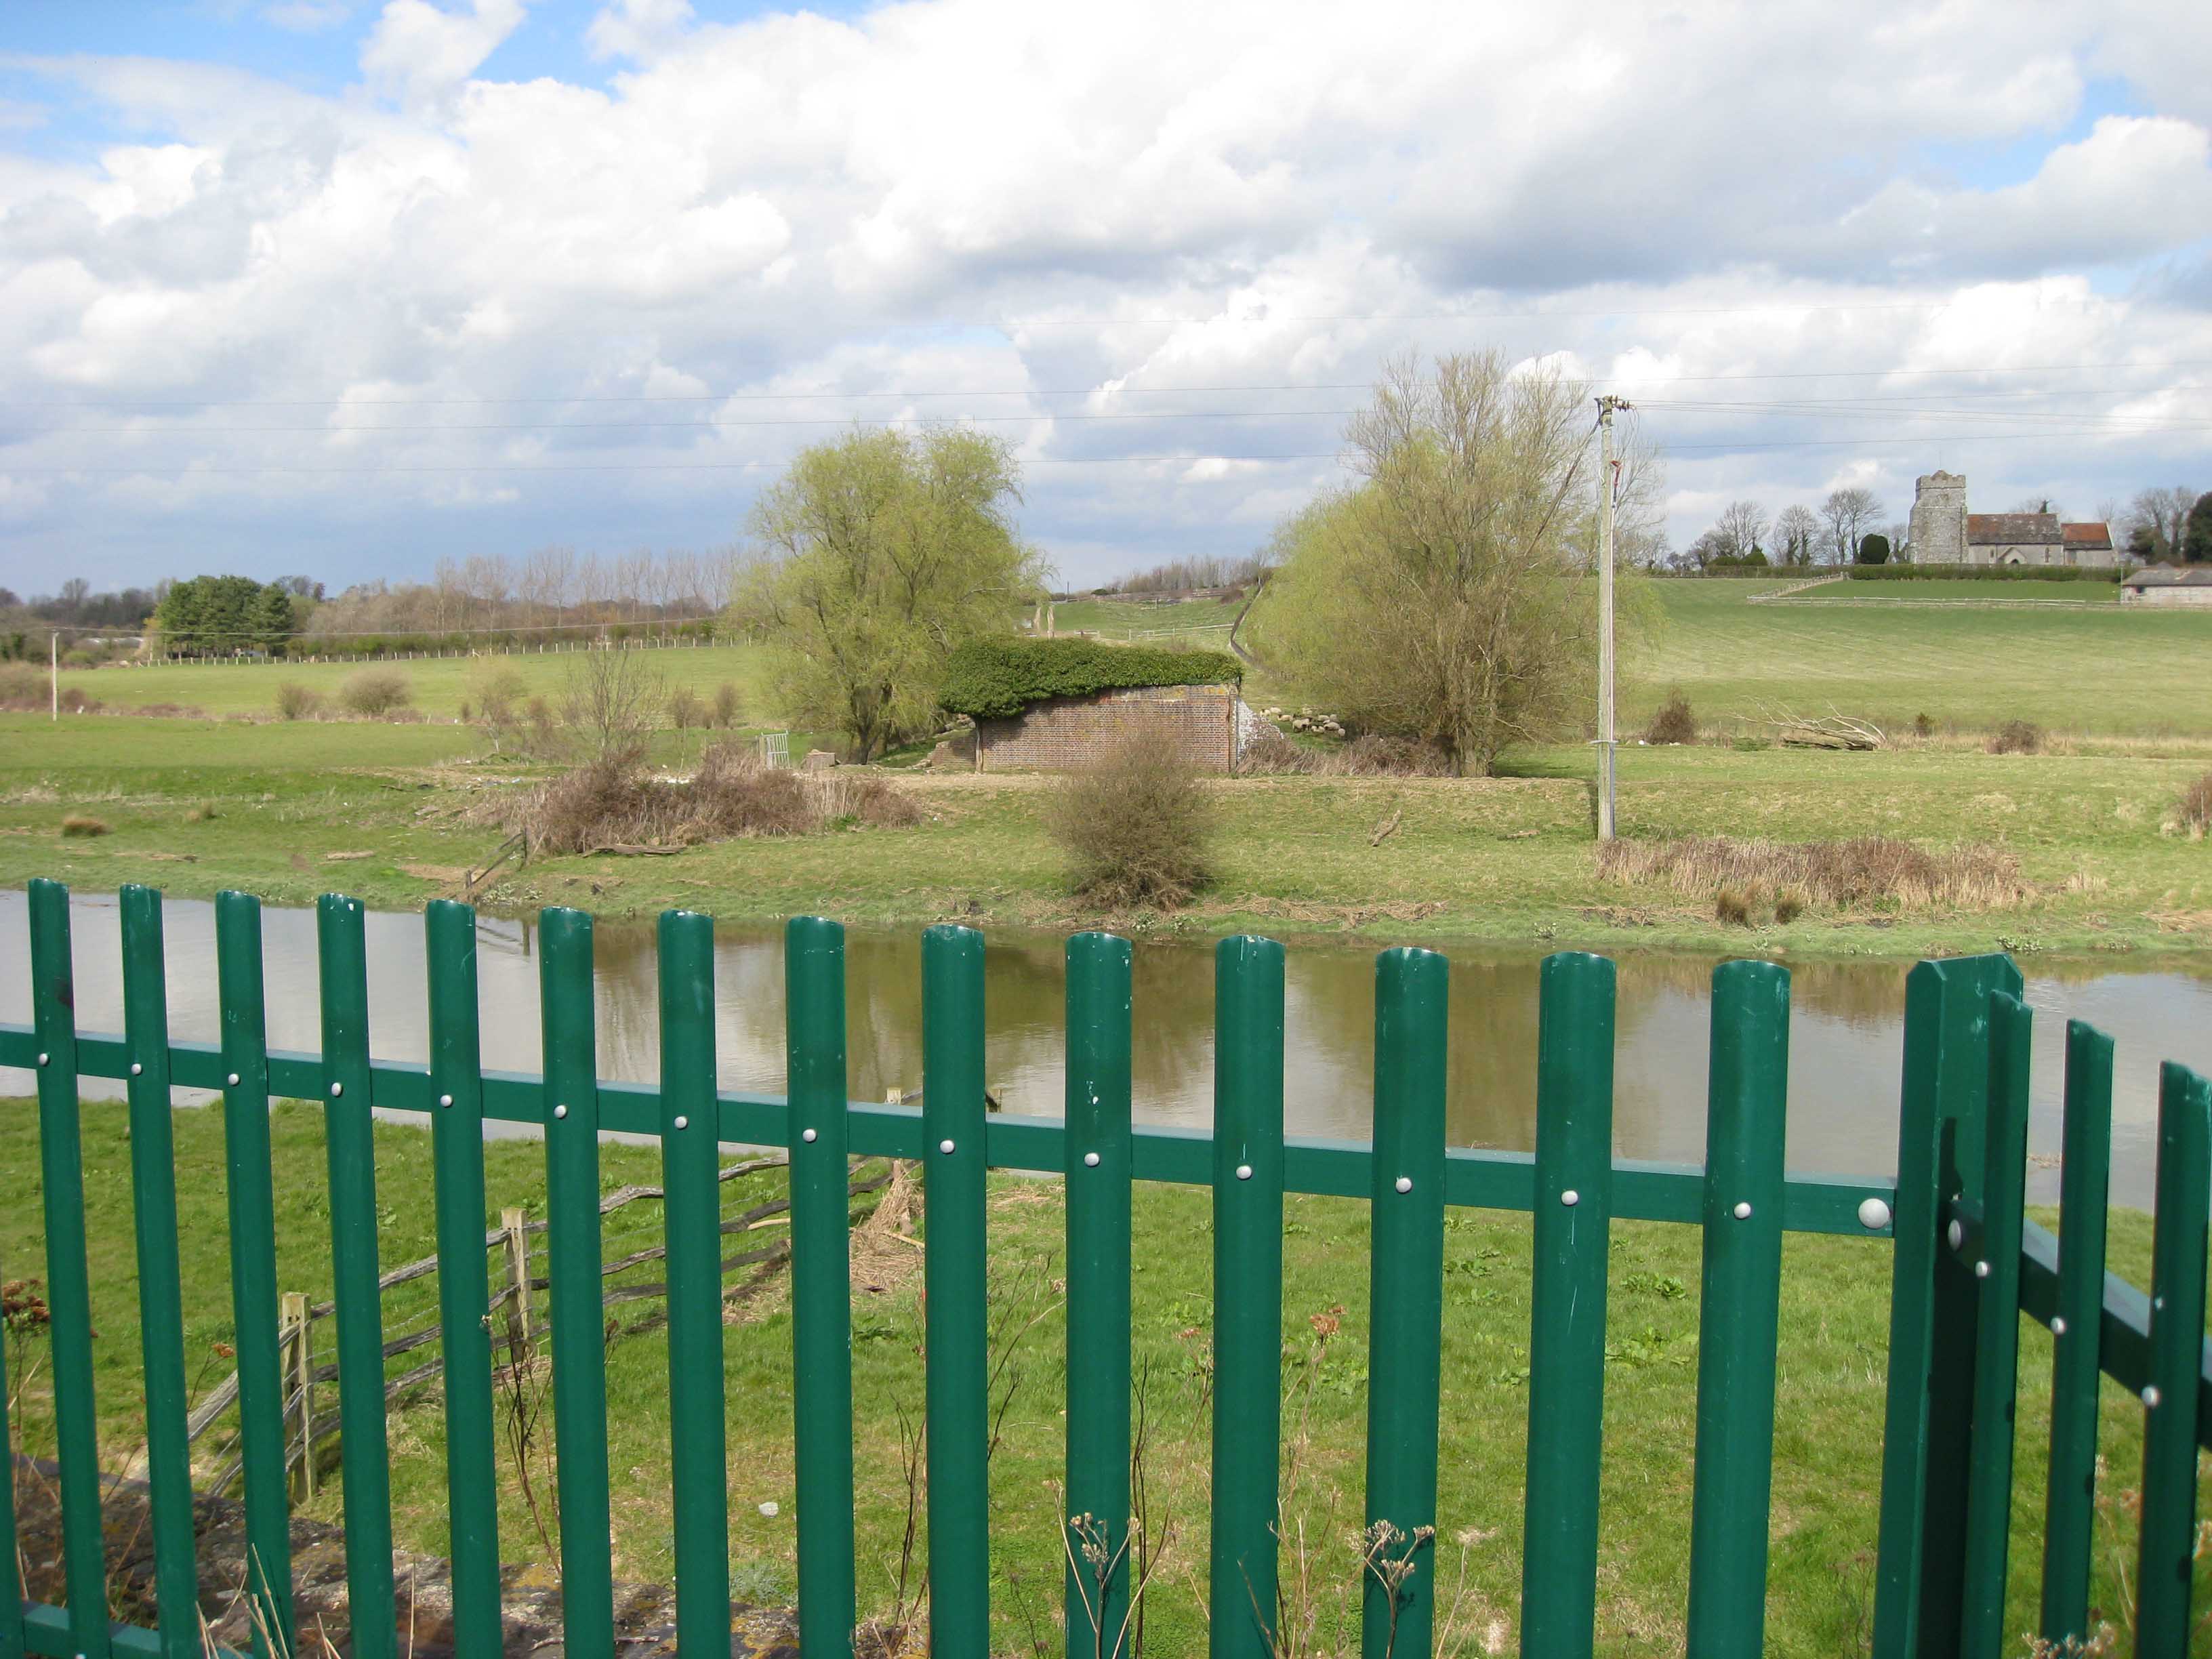
The photo and maps above show where the railway would have made its first crossing of the river. In 1898 (left hand old map) this bridge would have been next to the Phoenix Foundry. A great many local items were made at the Foundry including parts used in the construction of Eastbourne, Worthing and Brighton's (West) Piers. Lamp-posts and Pillar boxes were also constructed on the site and I have also been told that the ornate street lamps of Madeira Drive in Brighton were made at the site, although I have yet to verify this (LOR). Sadly, little remains of the Foundry in the present day apart from the building on the northern side (shown blue on the map) and part of the boundary wall. Nothing of the Railway Bridge remains in the present day, although the rough path of its route can be seen in the photo: it starts at one end where the gap in the trees is (between the Phoenix Causeway bridge and the coach on the left) and on the opposite side of the river it would have made landfall just to the right of the elderly woman in the blue coat (cunningly positioned or what??)
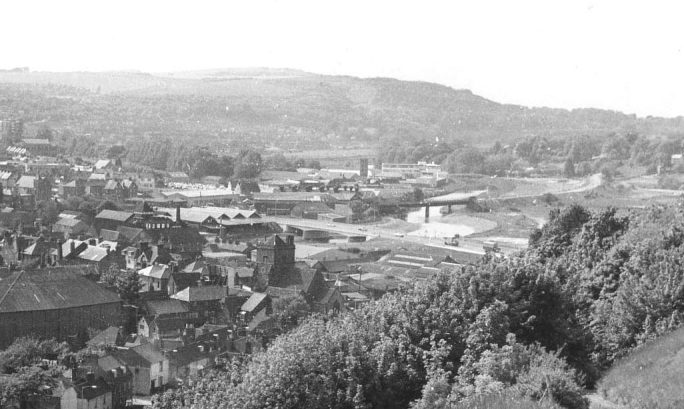
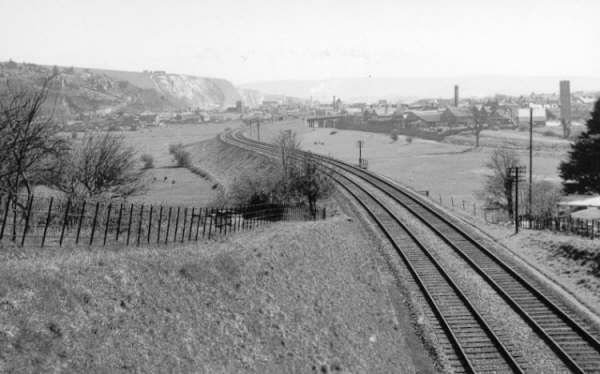
The first old photo shows the view from Malling Hill in the 1970's. It is quite interesting because it shows both the track bed and it's equivalent road replacement, the Phoenix Causeway. The Phoenix Causeway road bridge is seen in the centre of the photo, with the railway bridge across the river Ouse (right next to Tesco in the present day) and the sadly rail-less trackbed just slightly up and to the right of the Phoenix Bridge.
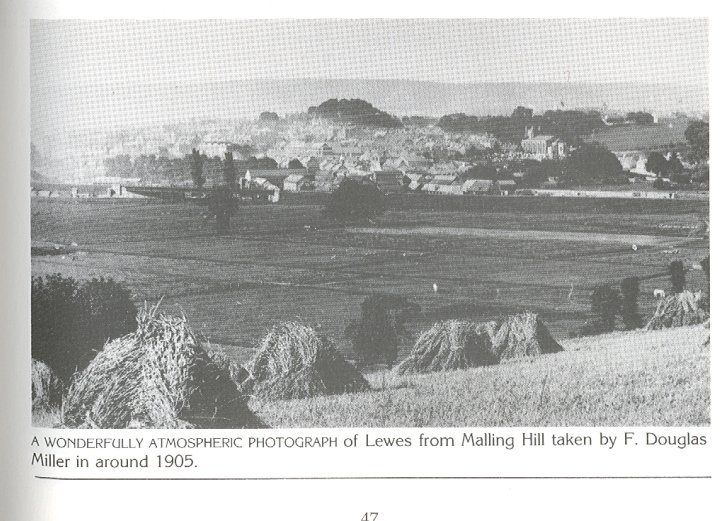
(photos owned by ghost-trains (top) and Dave Beard (bottom). Old photo appears on www.wealdenline.co.uk and is used for illustrative purposes only).The second old photo is taken from Malling Hill and would look very similar to the view seen from the roundabout of the junction of Southdown Road & Mayhew Way, looking towards the Fire Station. A small playground stands at the bottom right hand corner of the photo in the present day, along with a football pitch and an inclined road bridge up towards Church Lane and the Police Headquarters. Just to the left of the bridge in the present day would stand Tesco's. Hard to believe, isn't it? The small group of buildings to the right of the bridge are those of the Phoenix Foundry. The Church seen top right is St. John's and the clump of trees in the centre of the photo is immediately behind Lewes Castle.
Amazingly, the old photo shows the view from exactly the same place with the railway embankment still in situe, providing a beautiful comparison of how much of it has been removed in the present day.
**********
modern map of lewes showing playground area and trackbed near malling. tba
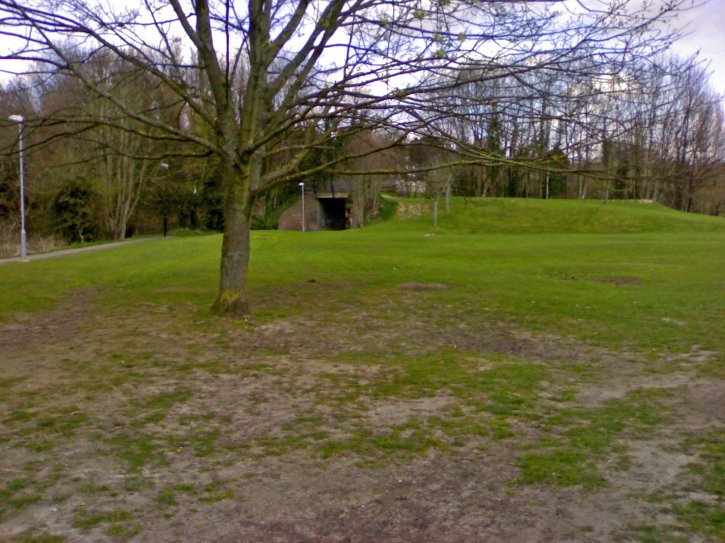
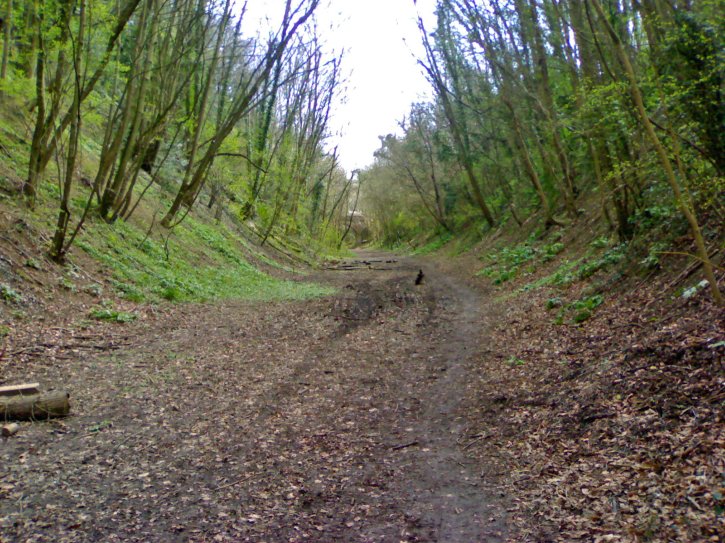
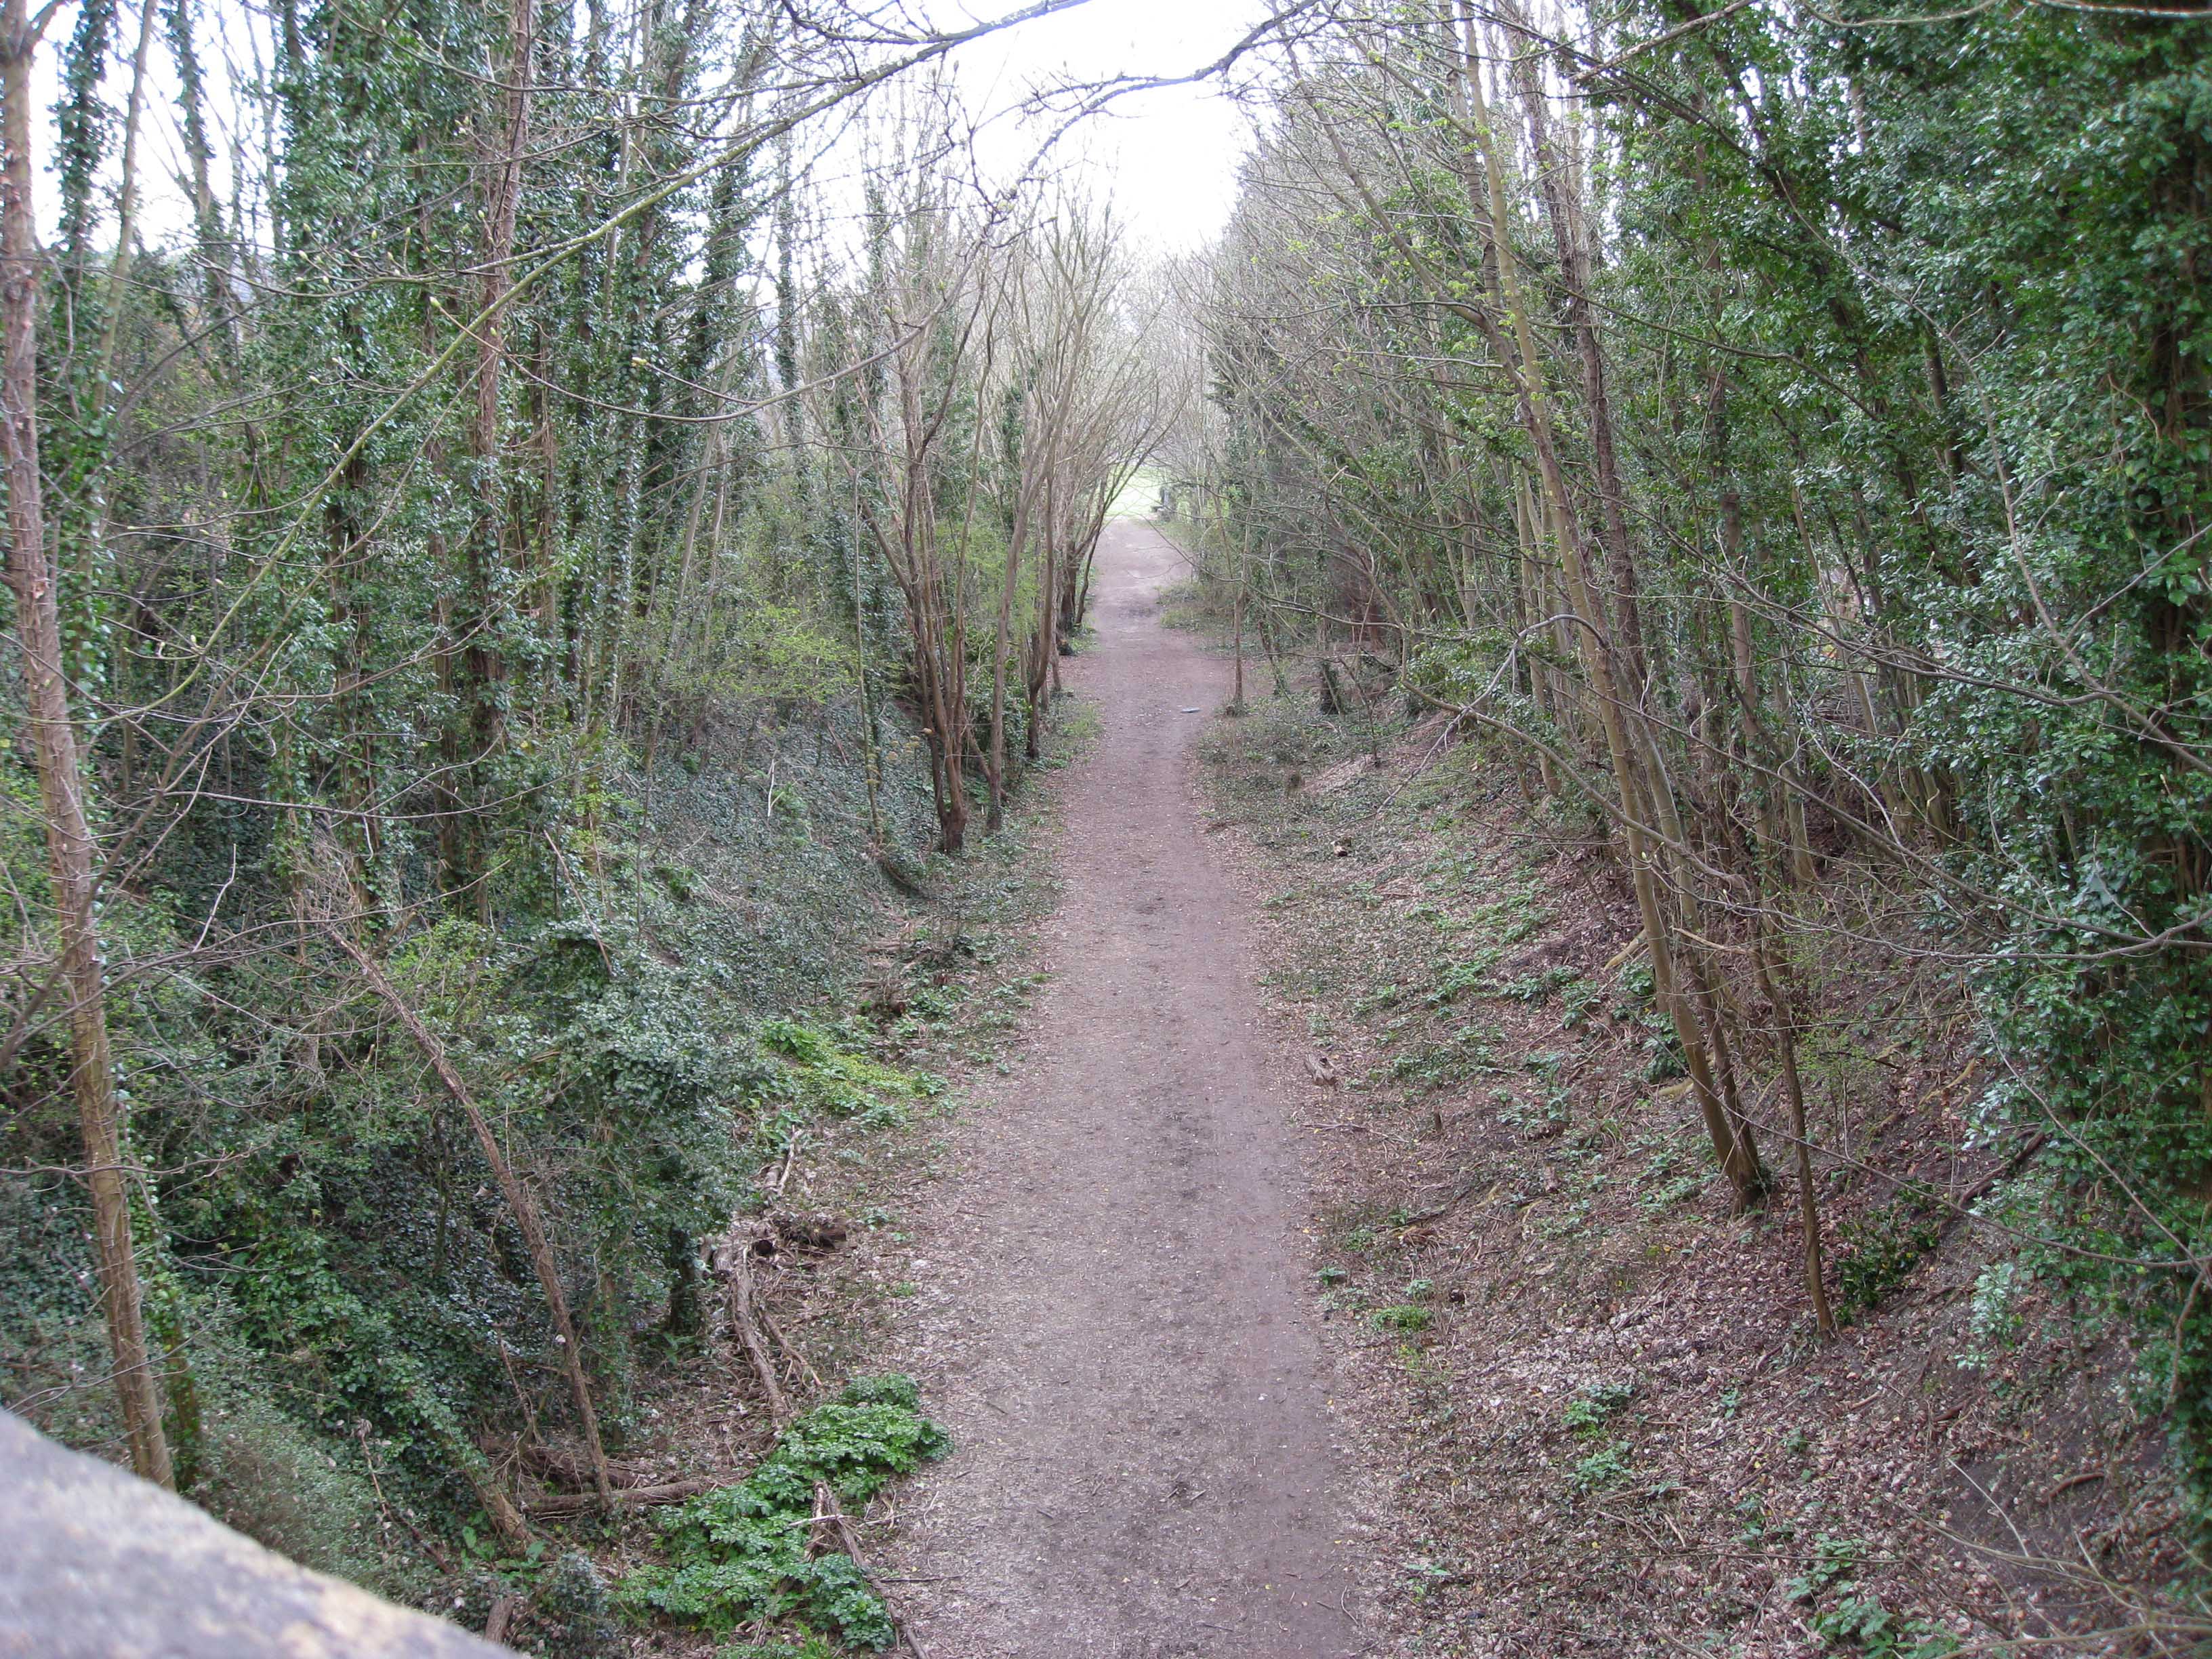
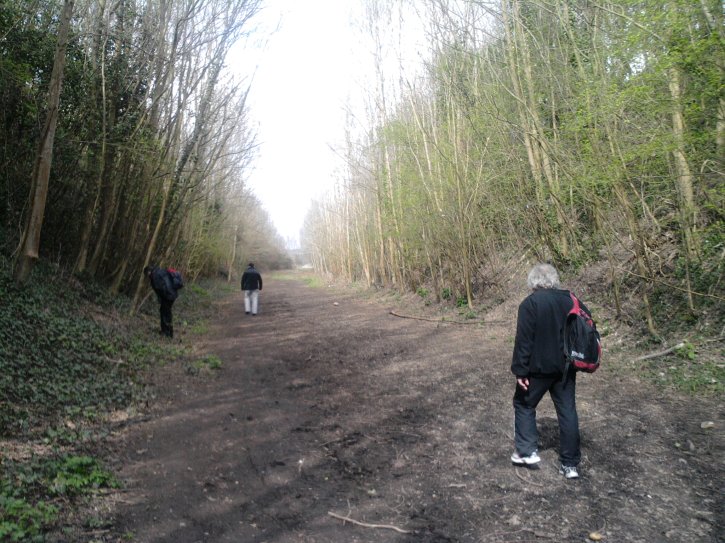
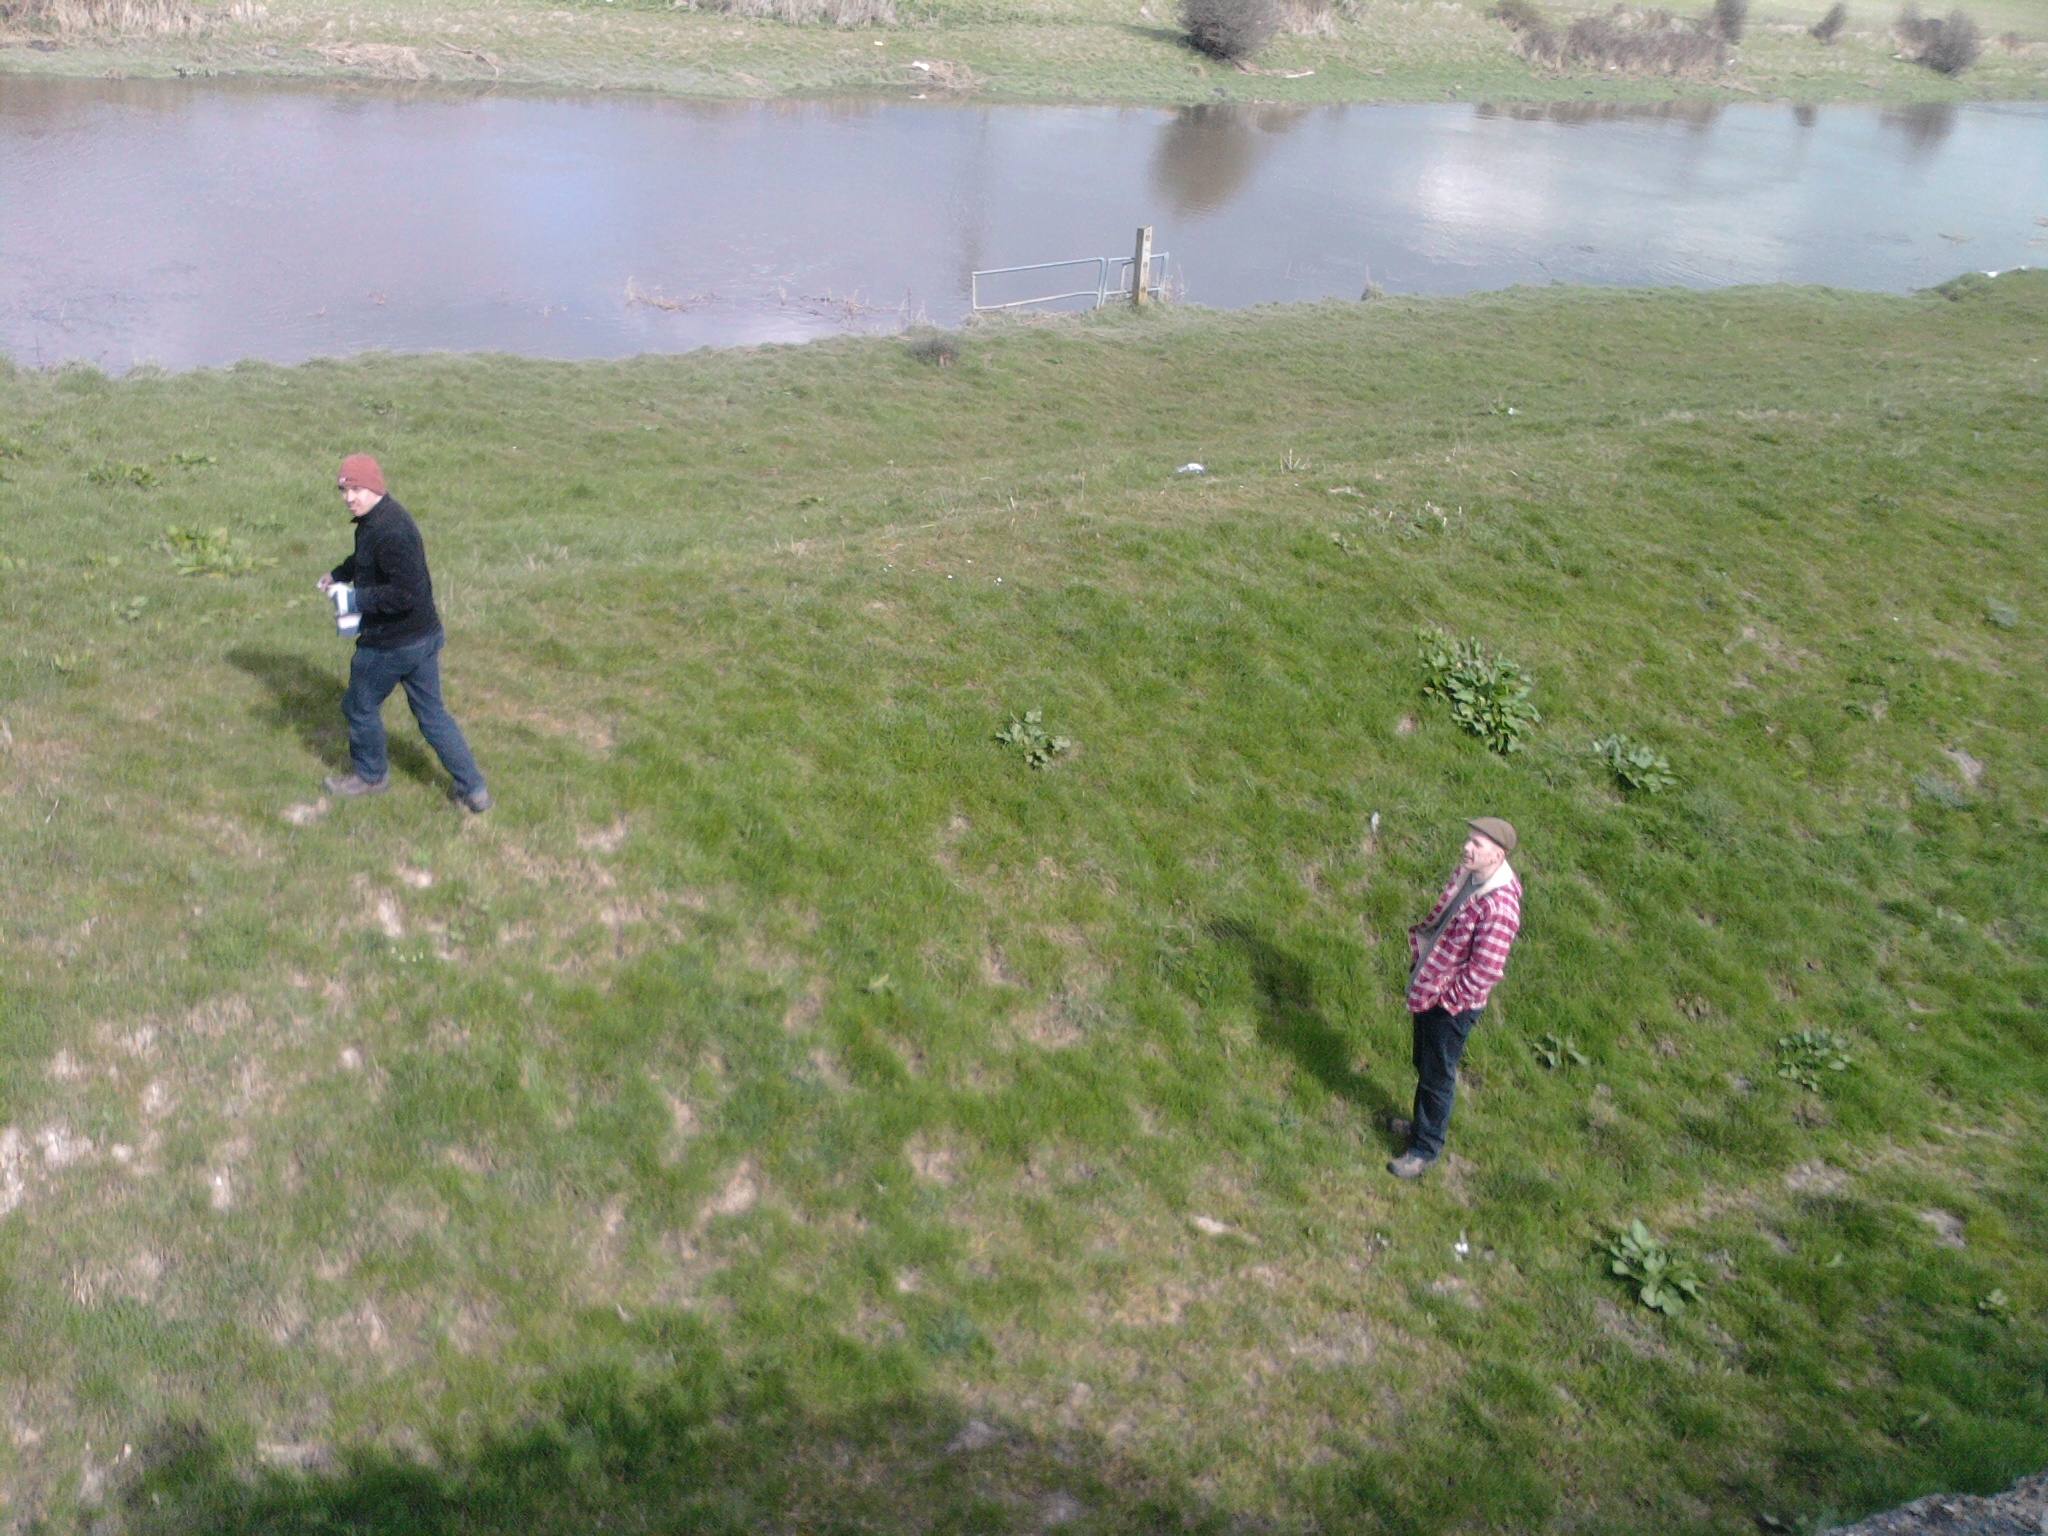
The photo and map above and left show the remaining trackbed, which still exists in the present day. The trackbed is beautifully maintained and can be walked as far as the River Ouse, just opposite Offham Church. The height of the bridge gives a good illustration of the height of the embankment which carried the track. The embankment has been levelled and is the site of a park and playground in the present day, as seen on the map.

**********

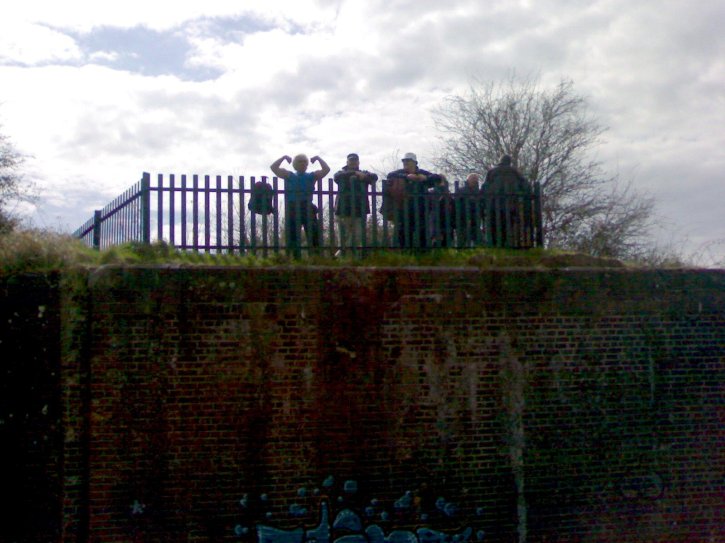
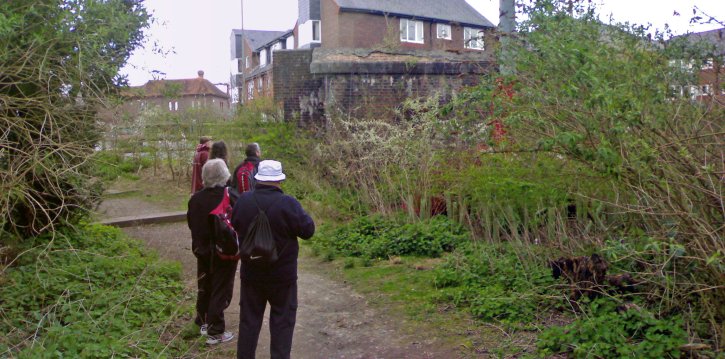
ABOVE: This is the view from the parrapet of the first bridge over the track bed, looking back towards Tesco's and the playing fields.
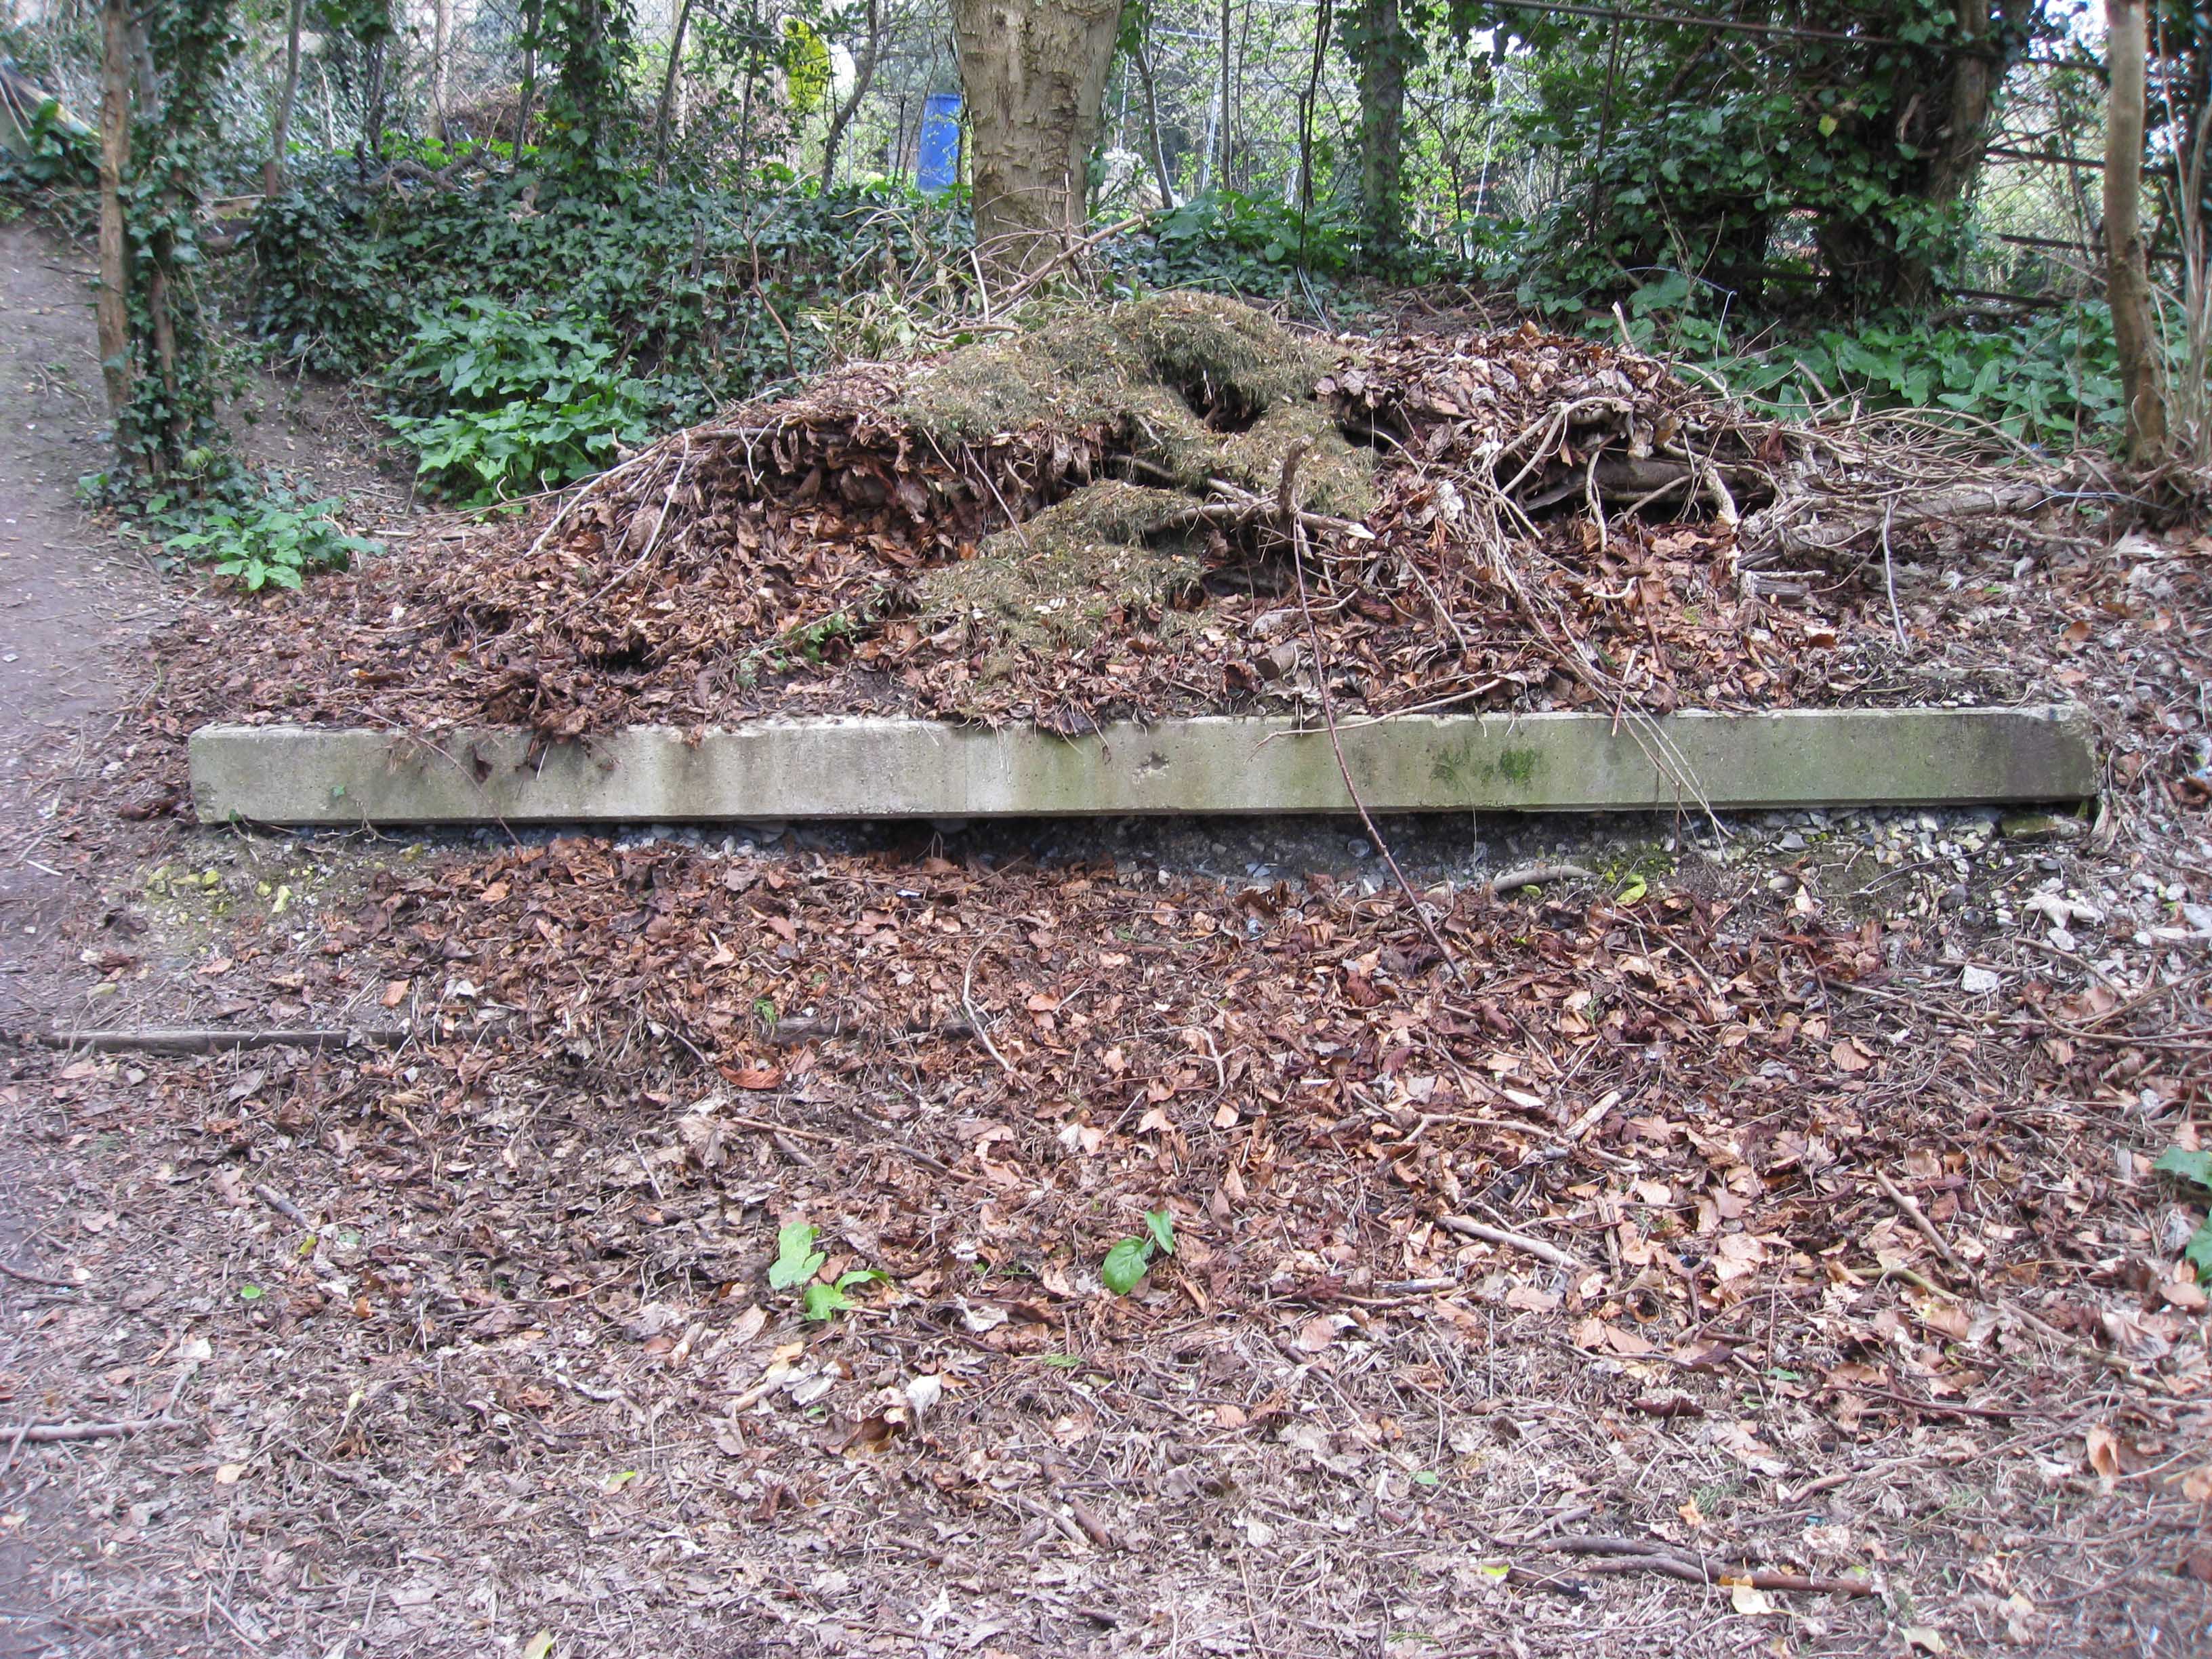
ABOVE: One of the lineside ballast or grit boxes still in place after all this time.
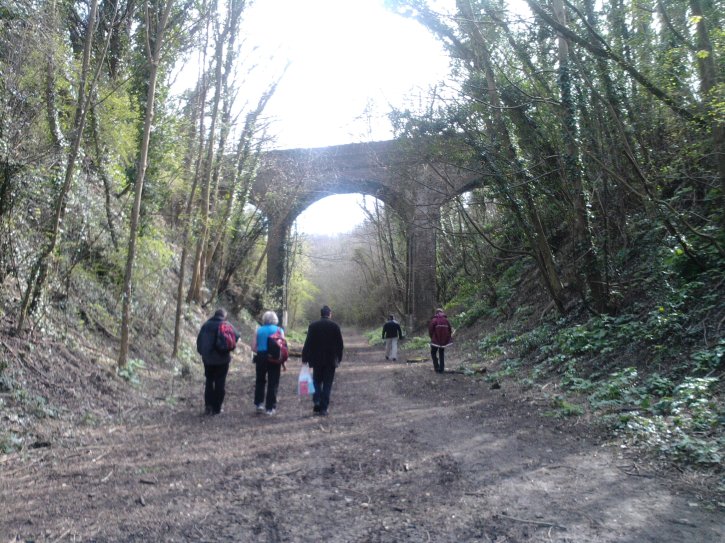

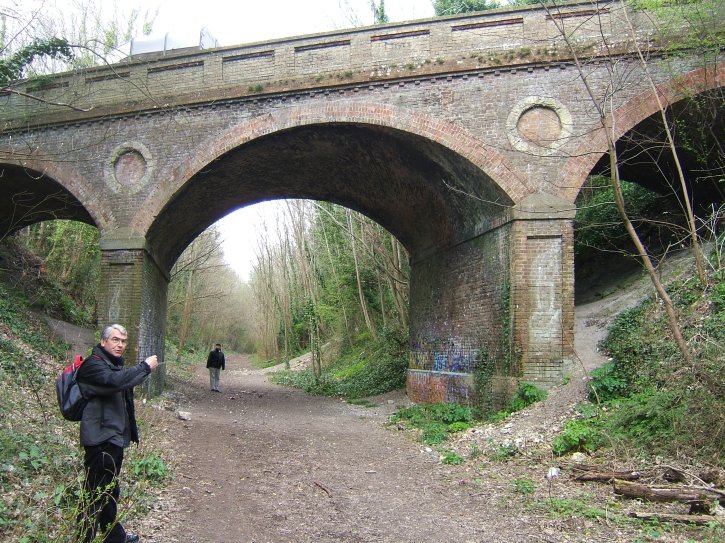
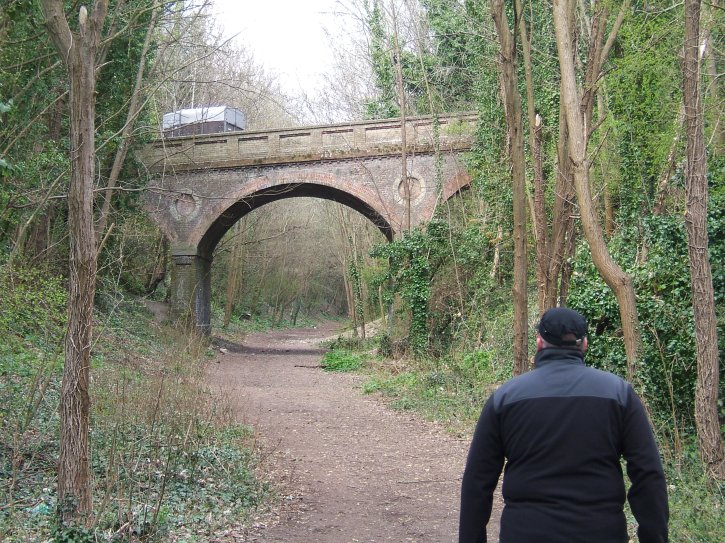
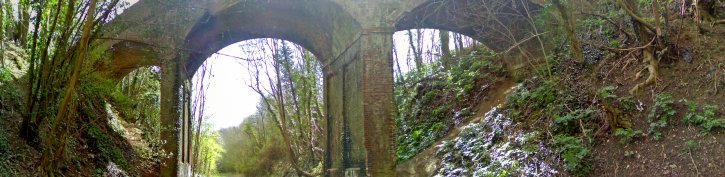
ABOVE & BELOW: These two photos show the second bridge which crosses the track bed. The view looking North is above and looking South is seen below.

**********
**********
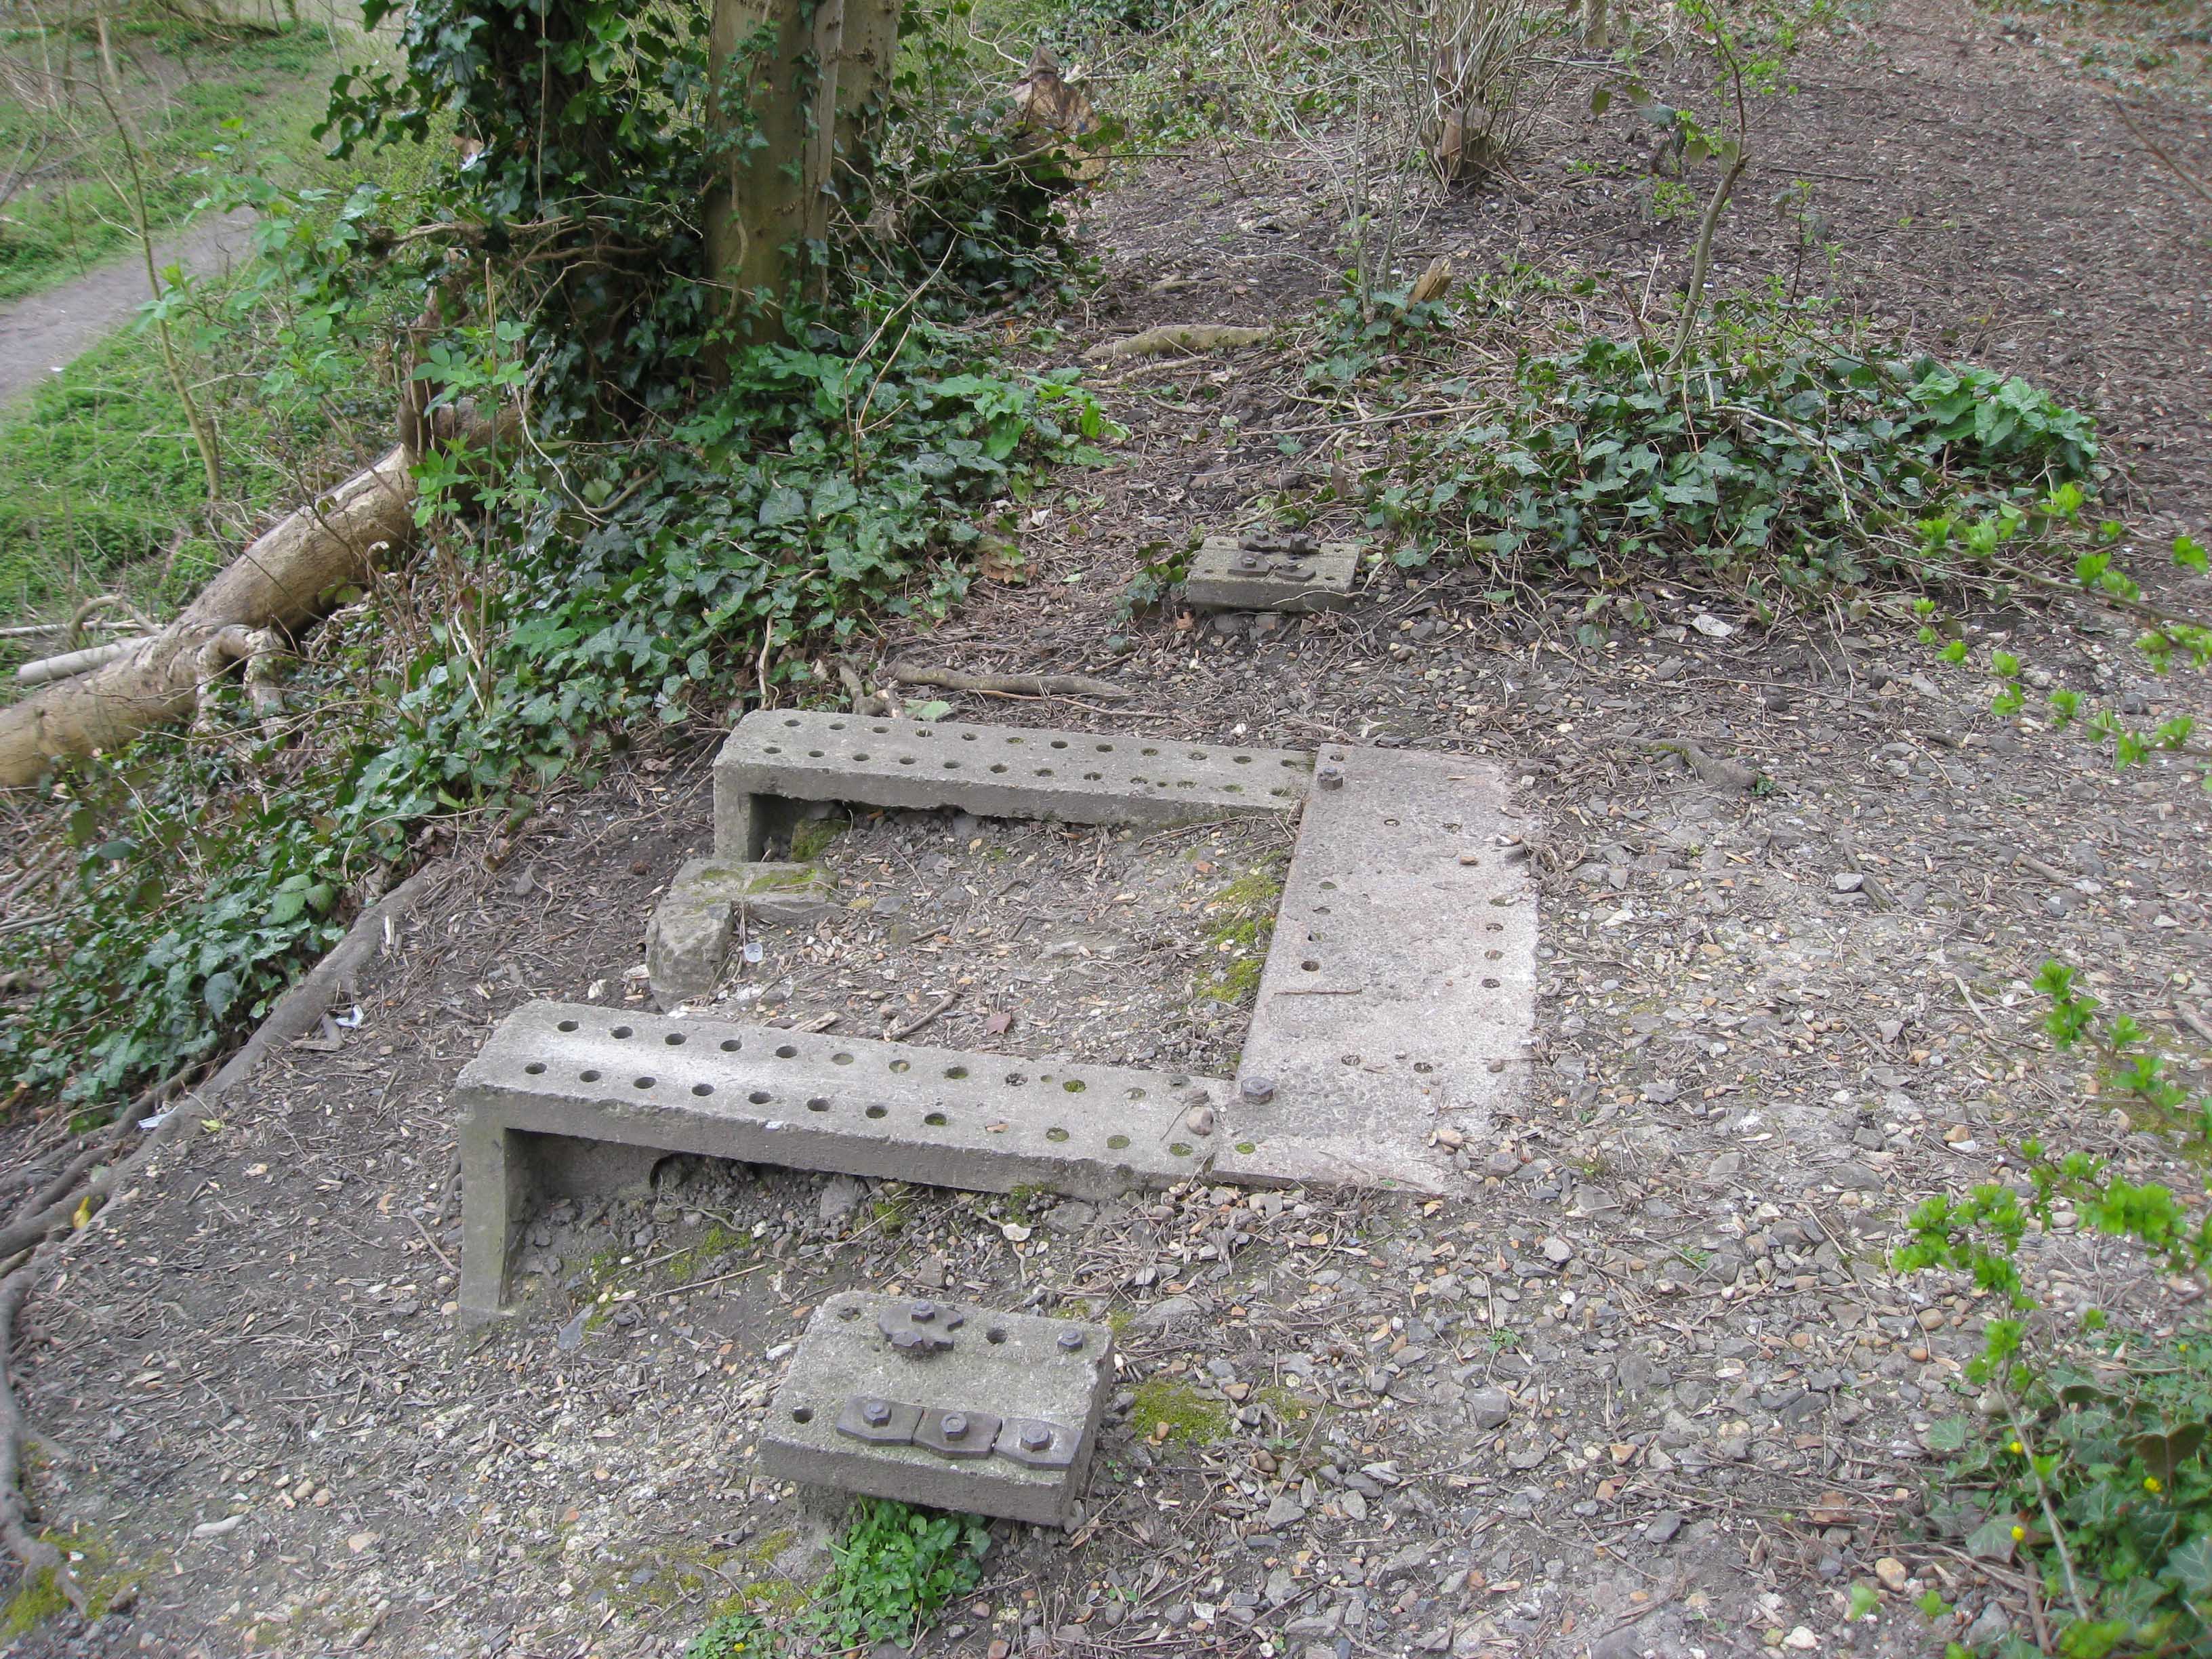

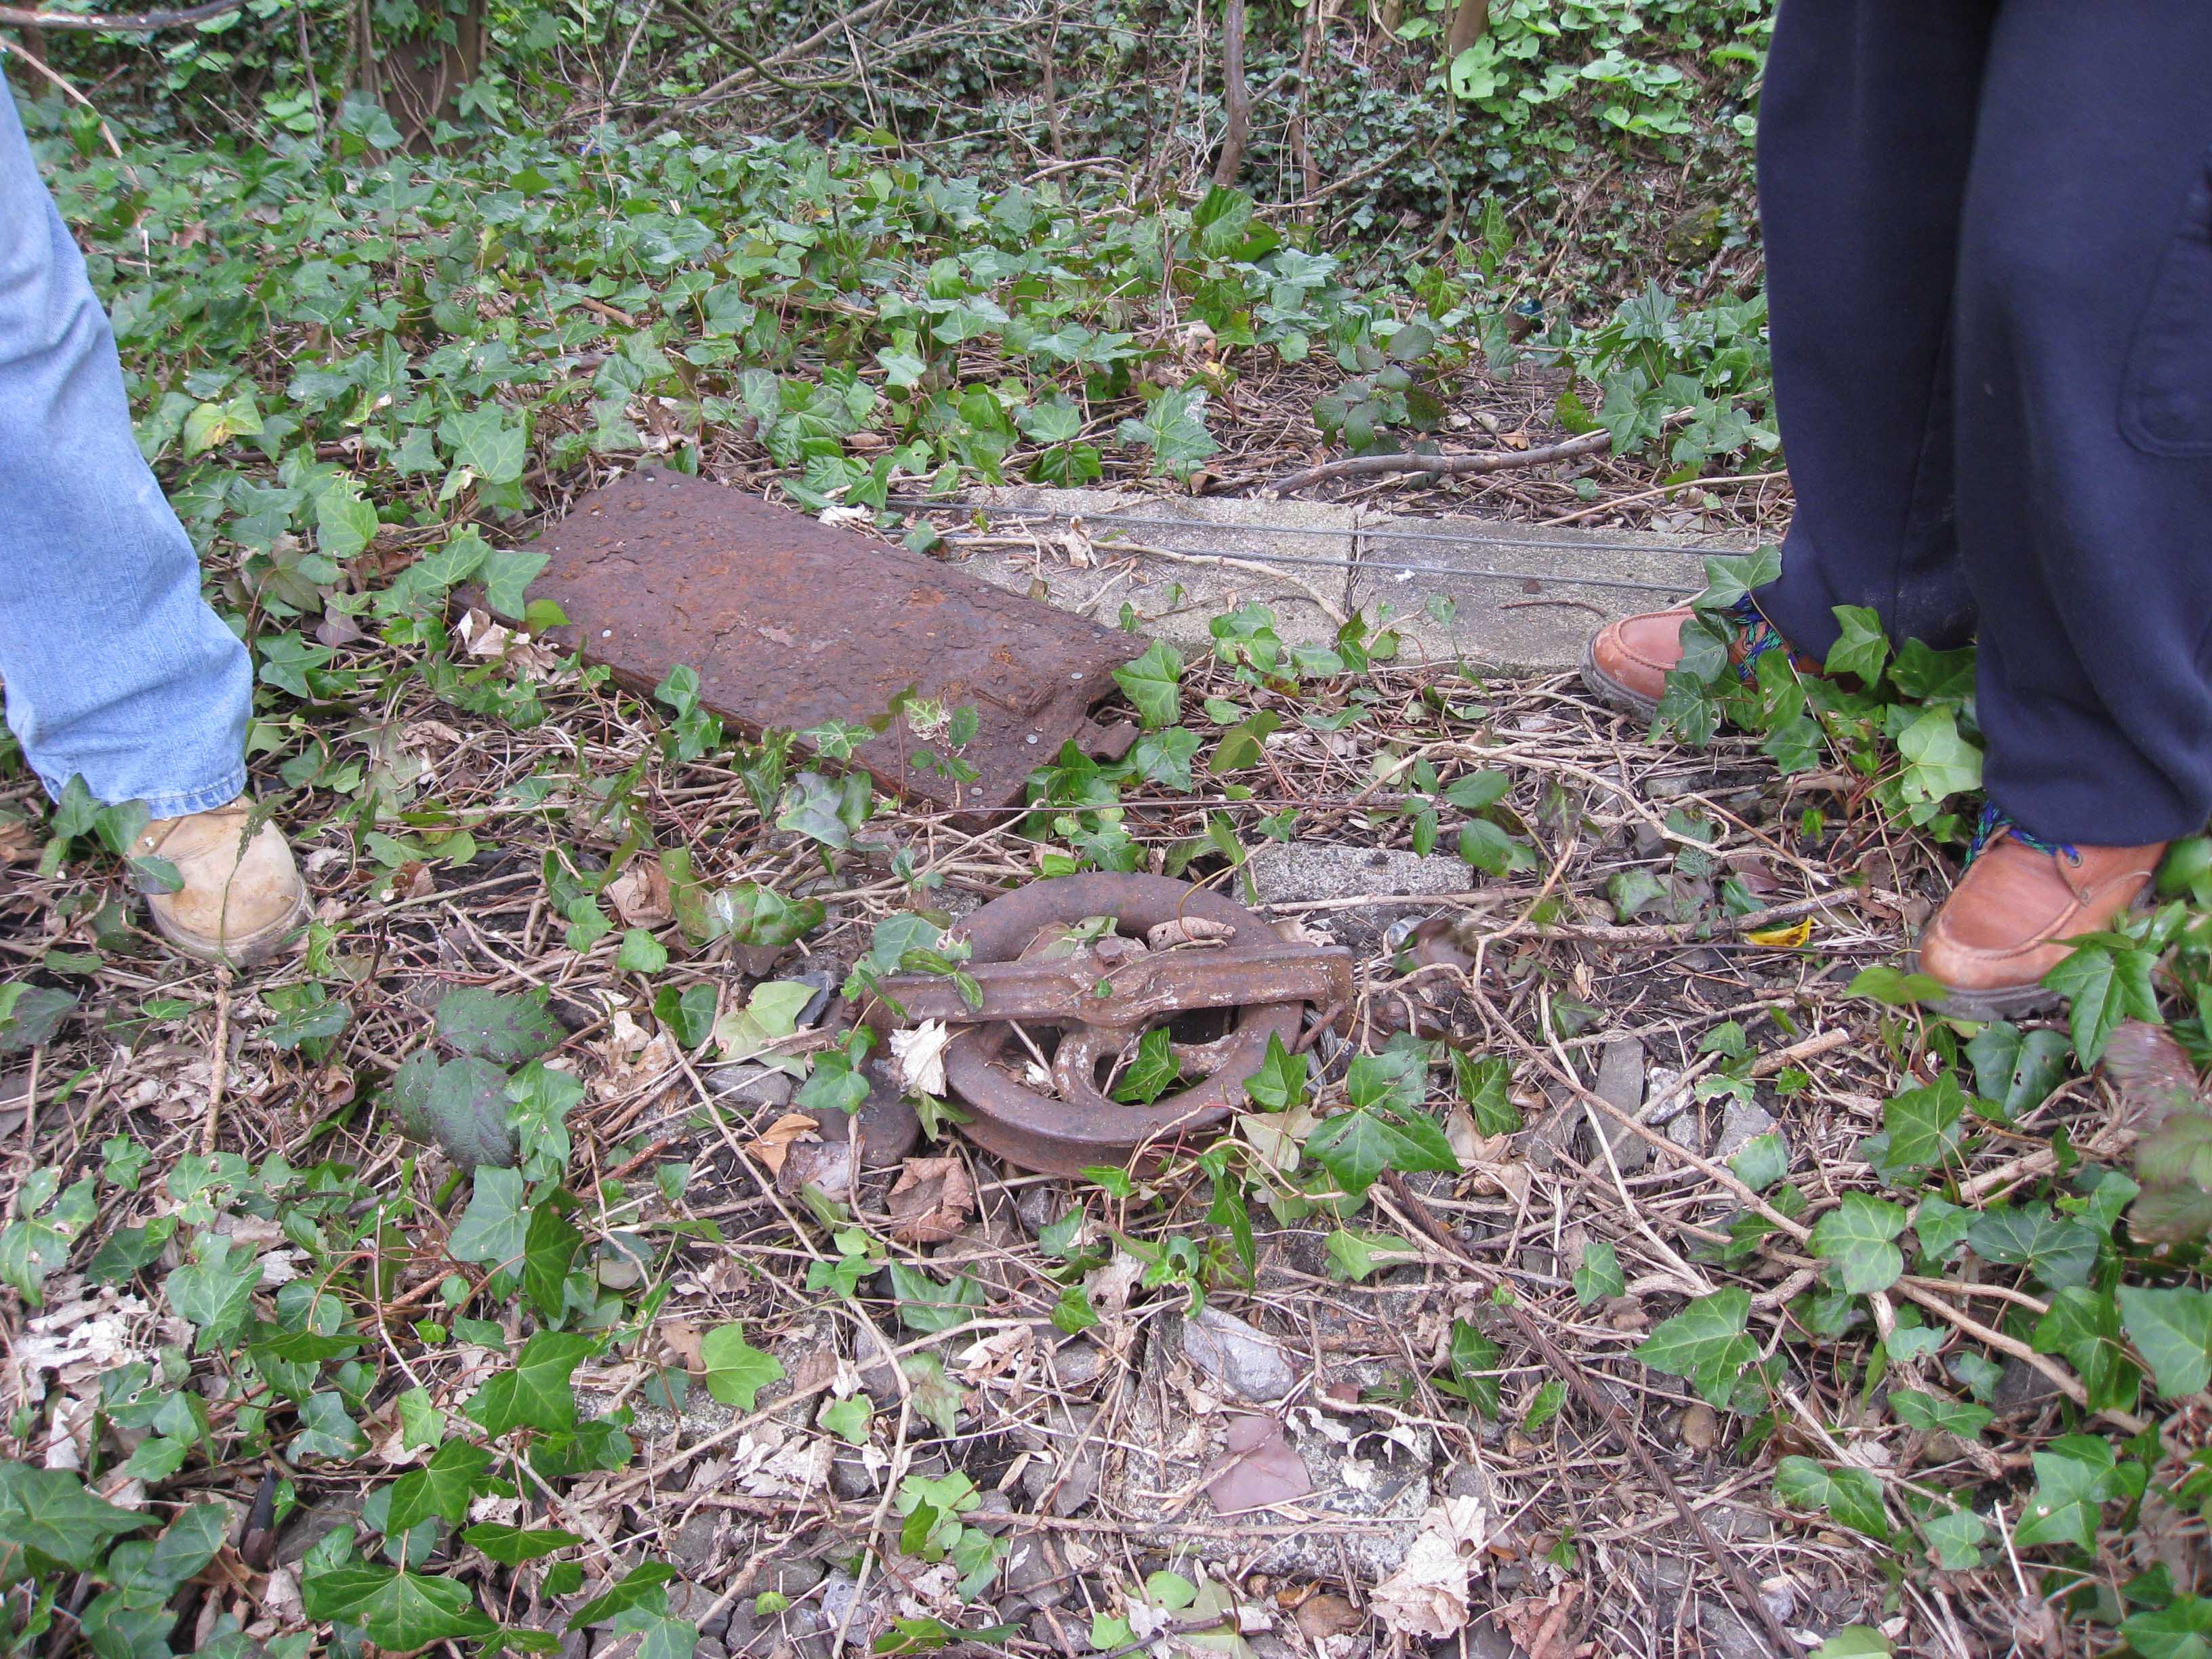
Lineside features:
Top left: remains of point switch assembly
Top right: Pulley. A lot of the lineside signals were operated using wires as seen in the next photo. This kind of pulley was used to divert the direction of the wire's travel without fouling it's operation.
Left: These smaller pulleys were used periodically along a long run of cable to ensure tension and ground clearence and also to divert the cable's travel upwards on occasions, in much the same way as the previous pulley. Note the heavy duty garden gloves: indespensible for this kind of field work!
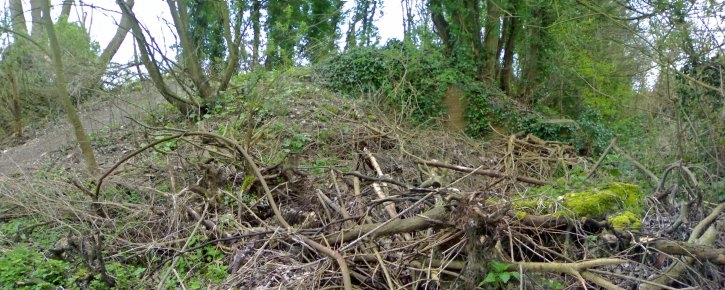

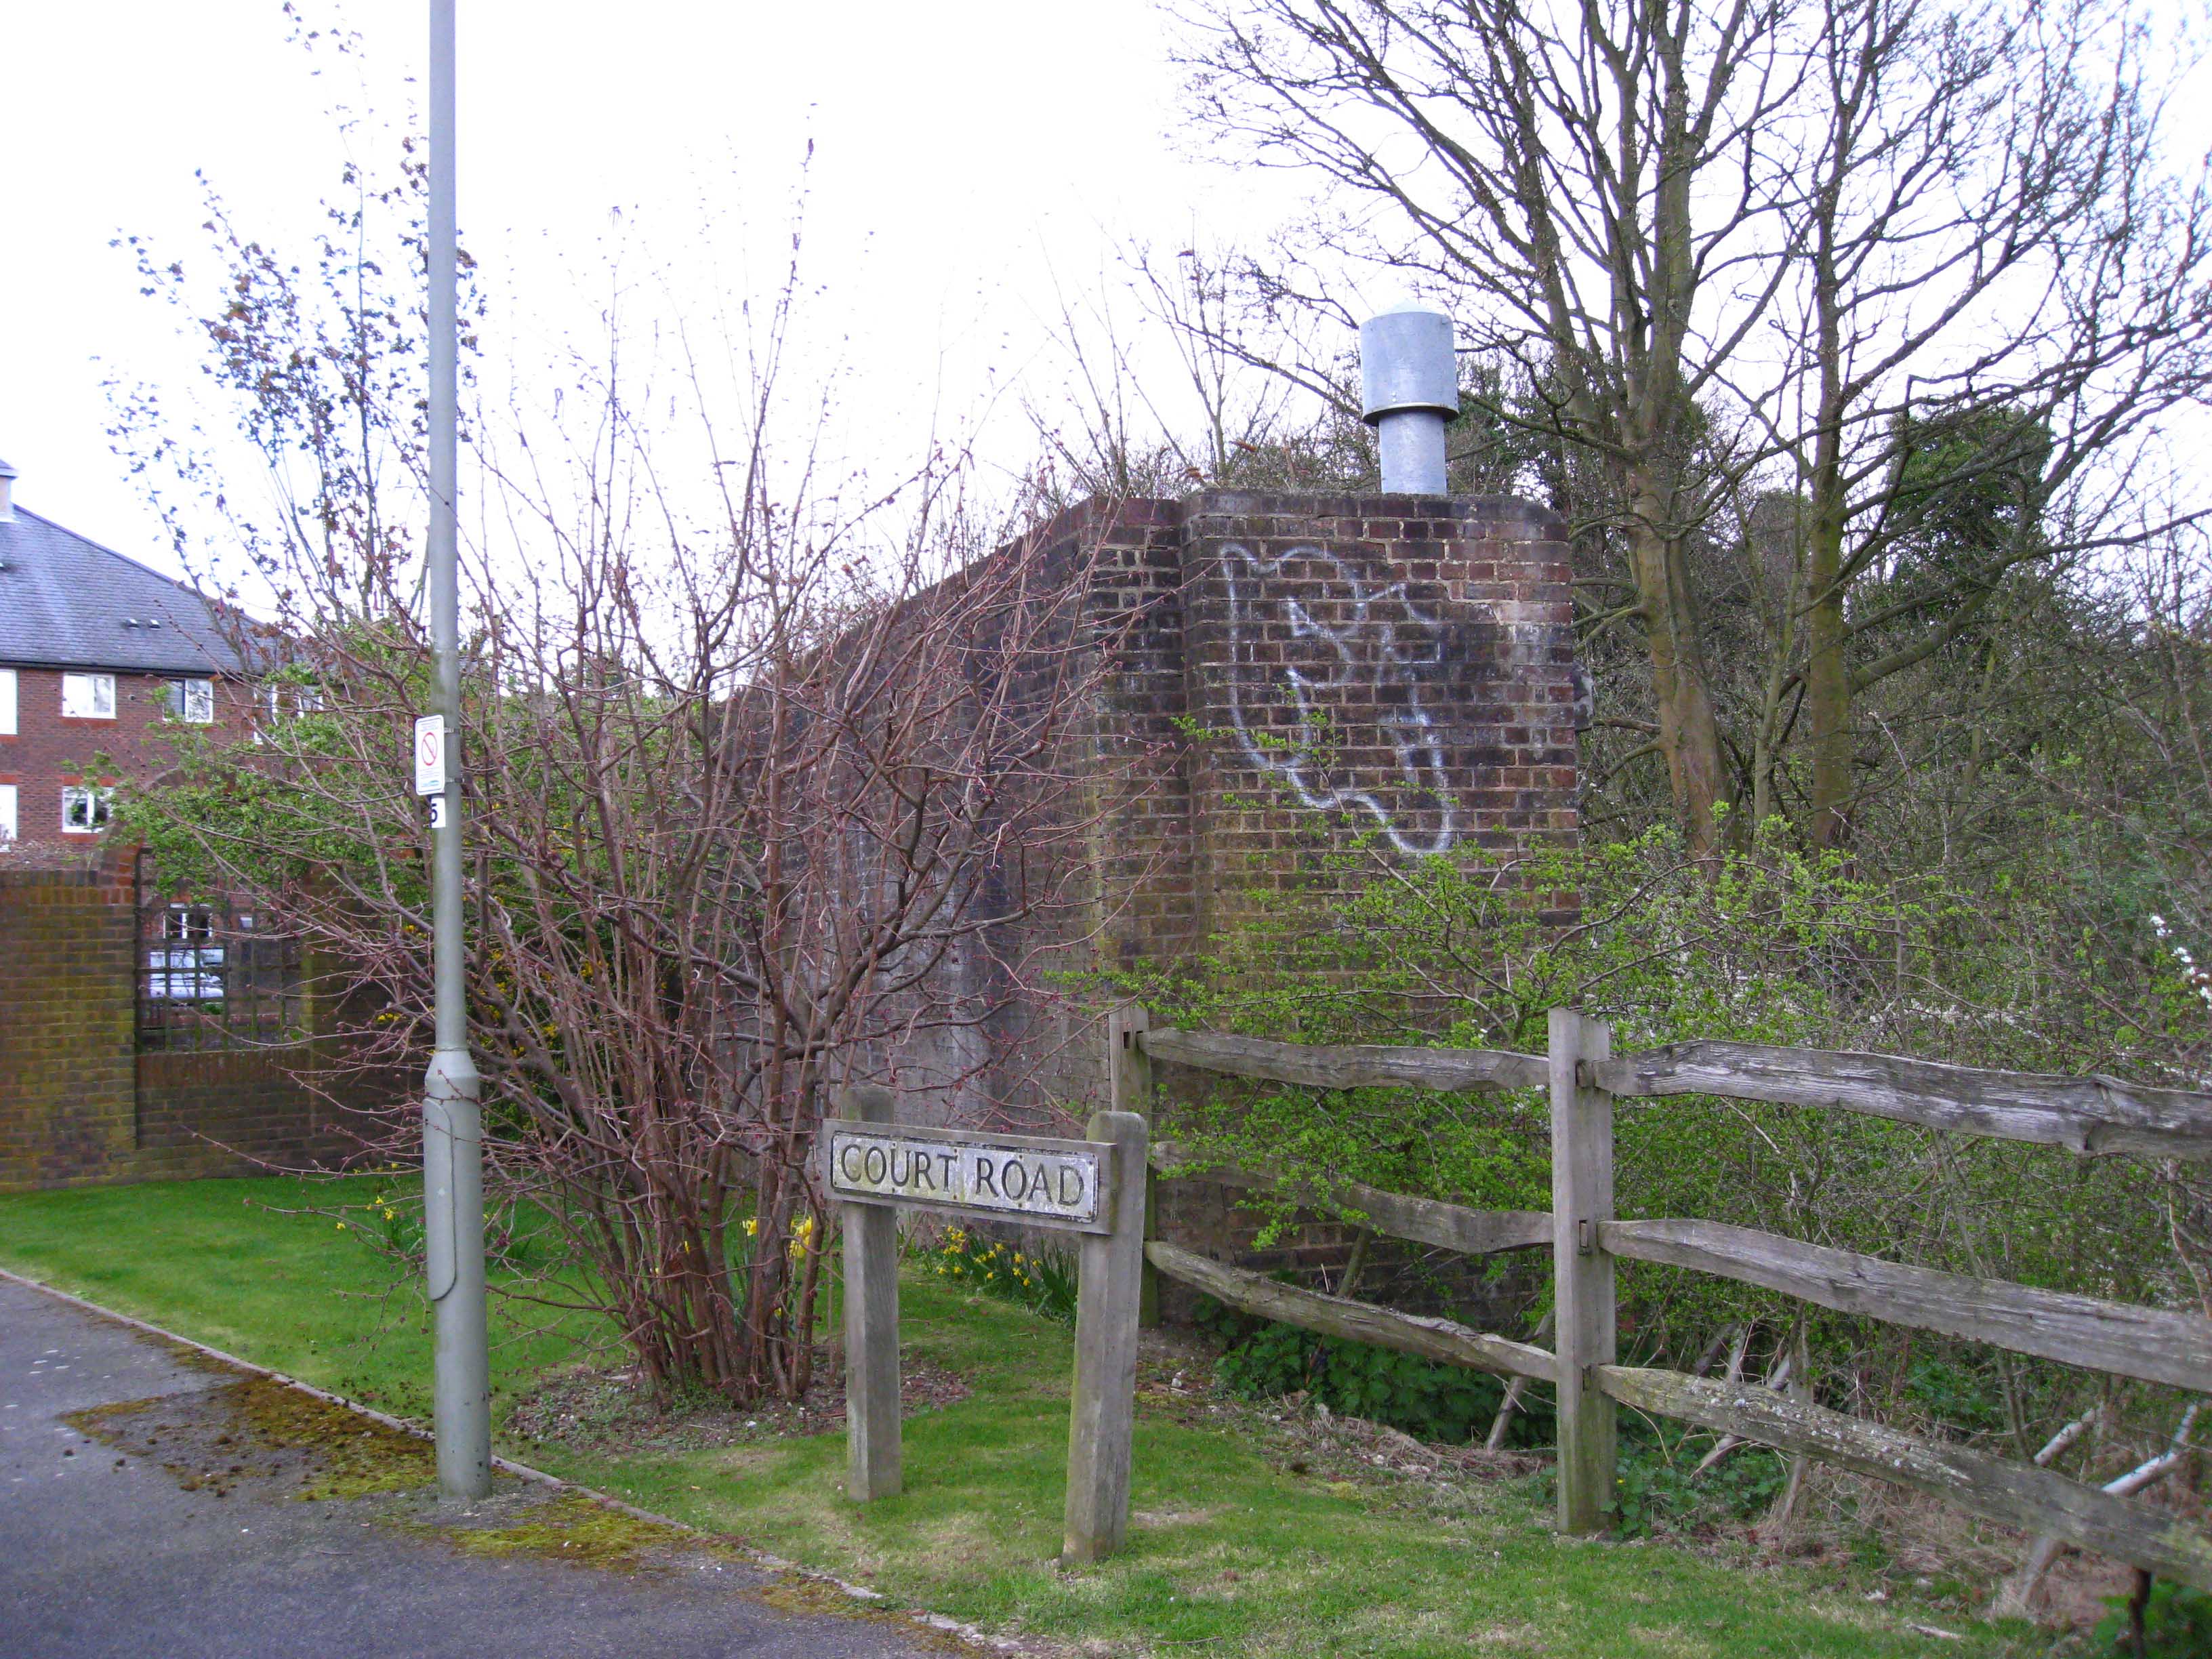
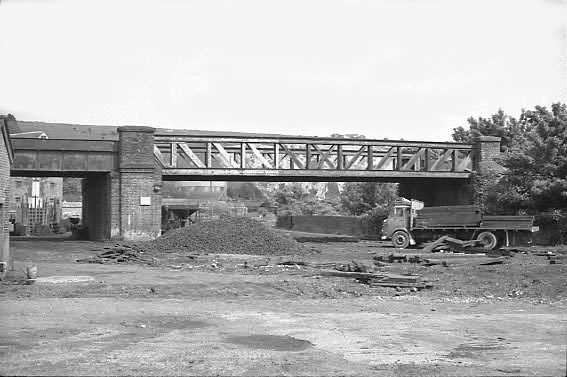
ABOVE: This 1960's photo clearly shows the Lewes Viaduct in the 1960's. The overgrown abuttment wall seen previously is the one on the right (just behind the truck) and the one seen in the previous photo of Court Road is the one seen on the left in this photo. Our heartfelt thanks go out to Dumpman (aka Chris Bedford) for showing us the location of these features, it was a perfect "last find" and we would have walked straight past them if it hadn't been for his boundless railway knowledge!

ABOVE: Our final destination! Nothing whatsoever to do with railways, but a good way to round off the day :o)